Documentation of my Decal
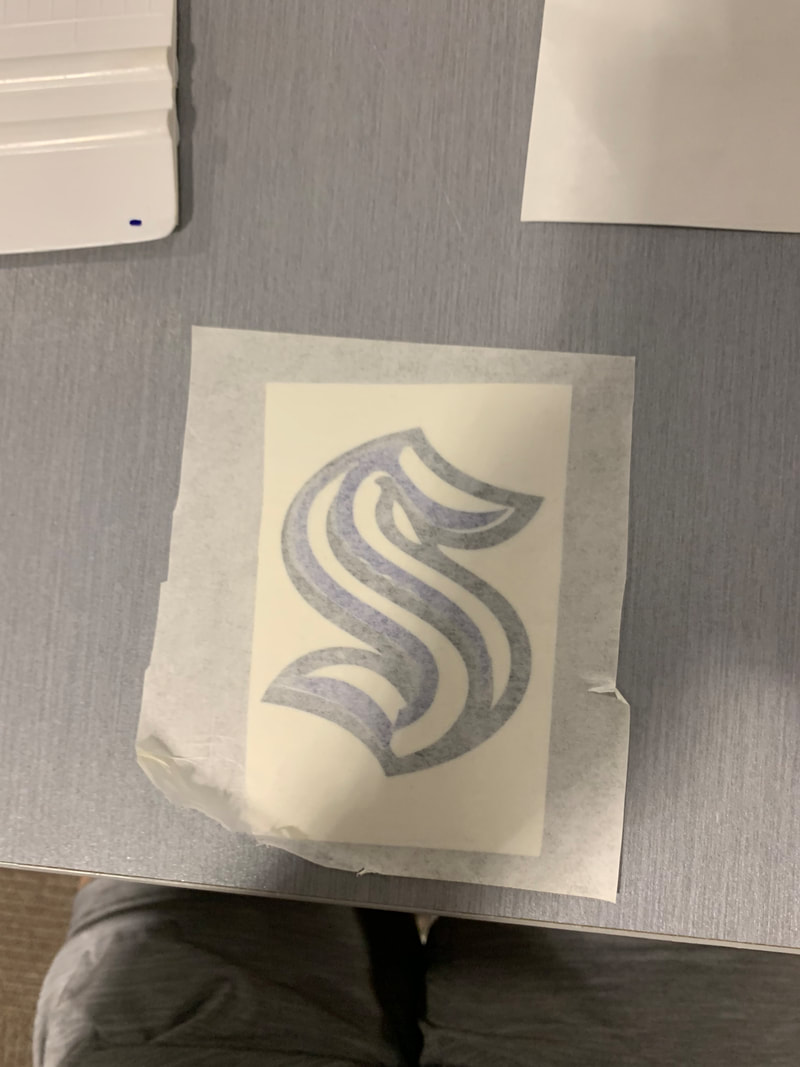
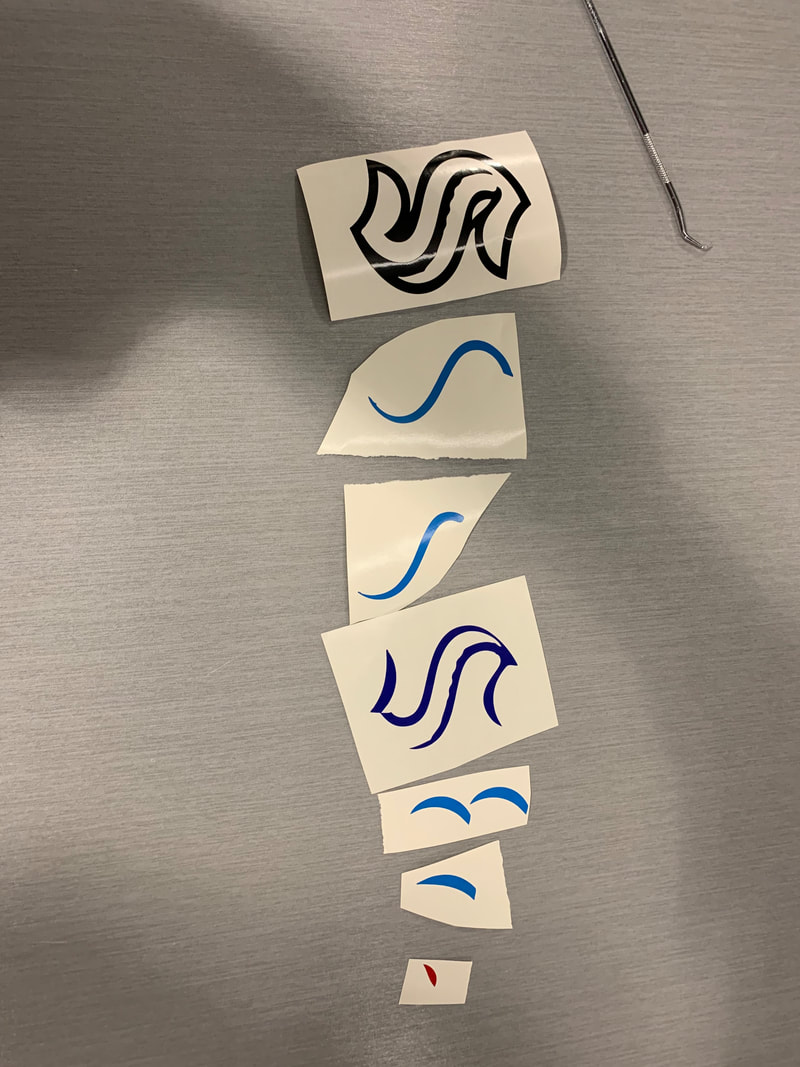
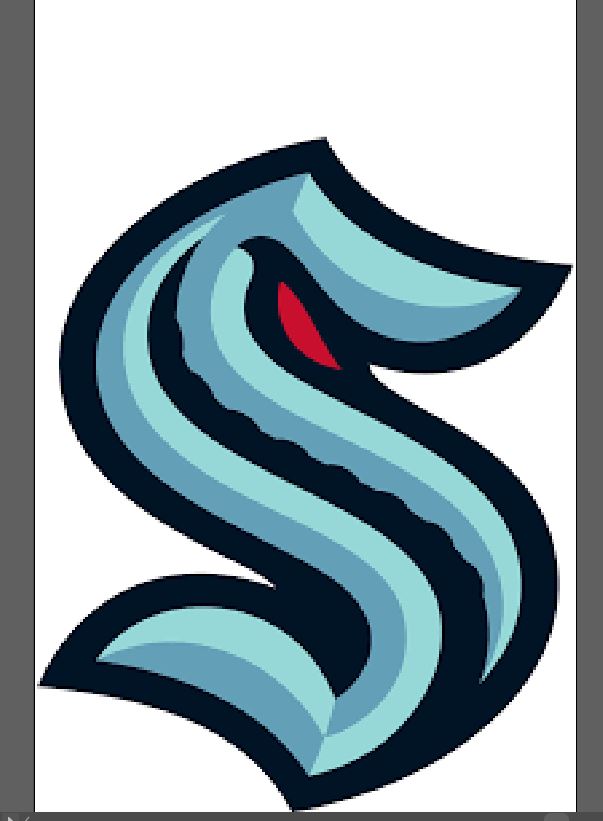
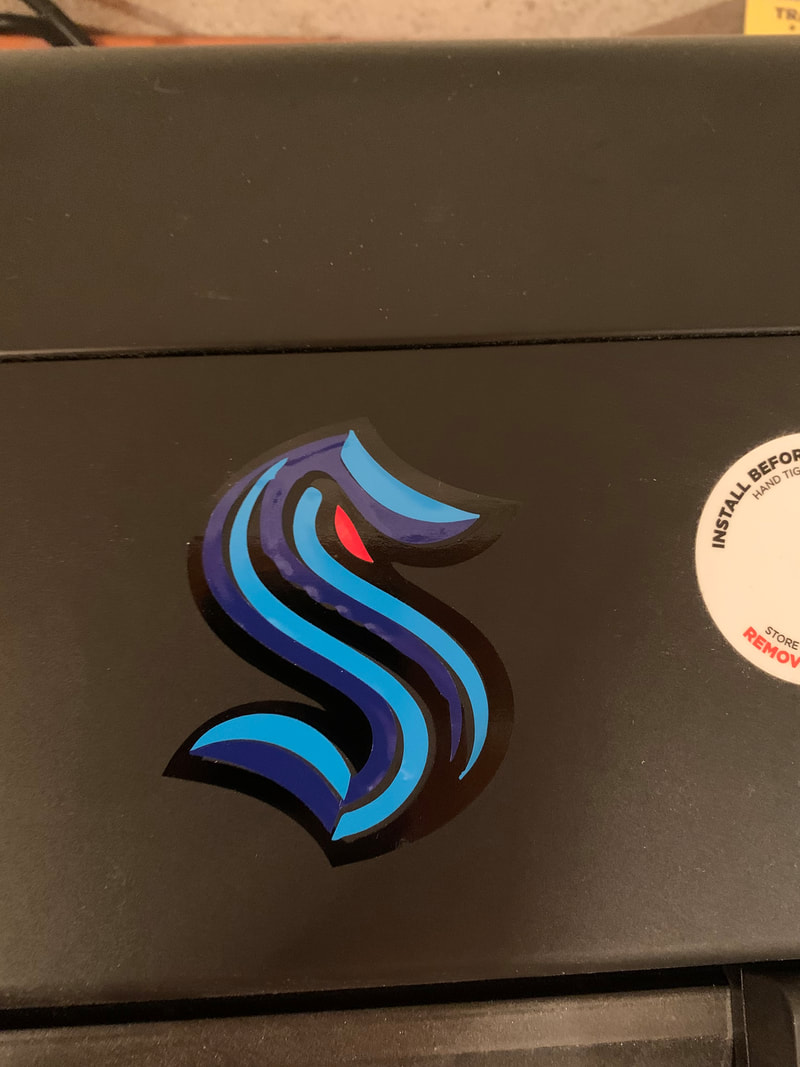
While I was brainstorming for my image I was trying to think of something related to hockey that could go on my skate sharpener. I was originally thinking about the NHL logo or the Vancouver Canucks vintage logo. The problem with the NHL and Canucks logo was that they both seemed too boring to me. Then I remembered about the new expansion team logo, and it met all my needs with it being original and colorful. Idmediatley I put it on illustrator and followed the instruction sheet so I could then prepare to print the decal. Once I filled out the instruction sheet I then saved it on my USB and went to the vinyl area. Followed by this I started to look at the instruction sheet for using the vinyl cutter, and later asked for needed help. Although, once I learned how to navigate through the vinyl cutter I quickly finished all my cut outs for the decal. This led to me setting up all of the vinyl cut outs to be stacked up layer by layer to create the decal. Once I finished the setup I realized that I ungrouped a part of the vinyl that I did not actually have to. Although this wouldn't hurt the final product it was still infuriating because it would now take longer to stack up the vinyl cut out. Nerveless I finished the stacking and had my finished decal. Now all I had to do was put it on my skate sharpener when I get home. Once I arrived at home I arranged my decal in my desired spot on put the decal on.
How I created the Vinyl Decal

|

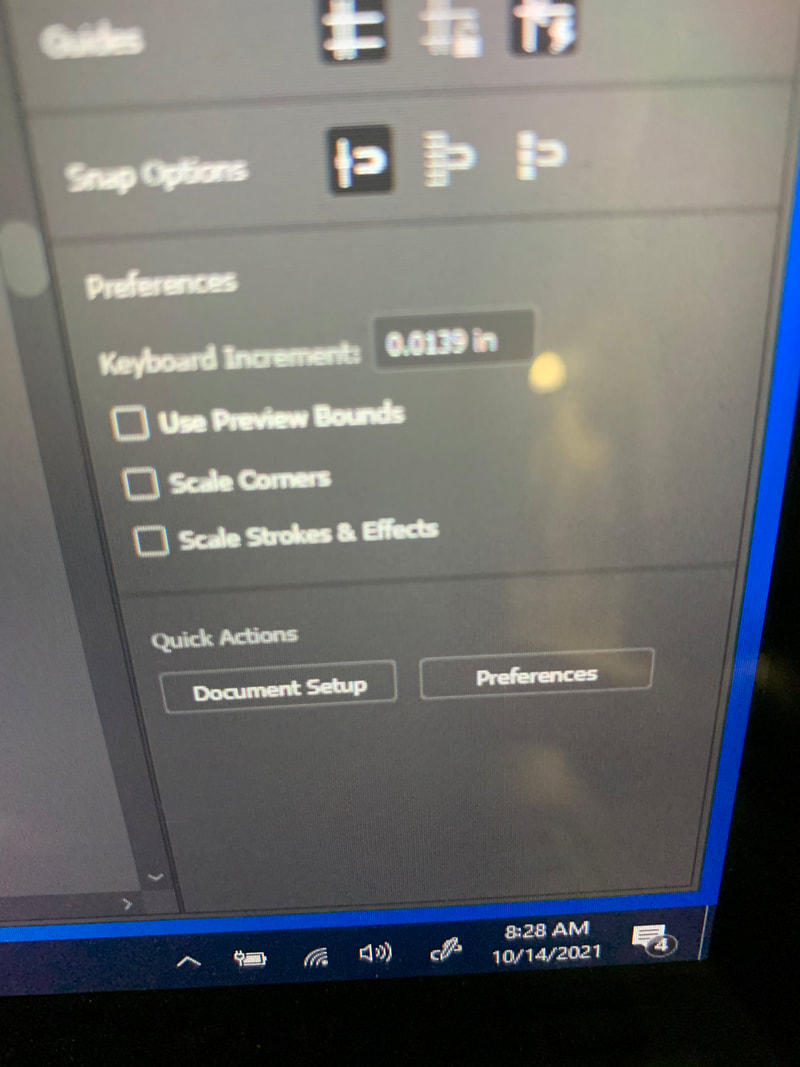
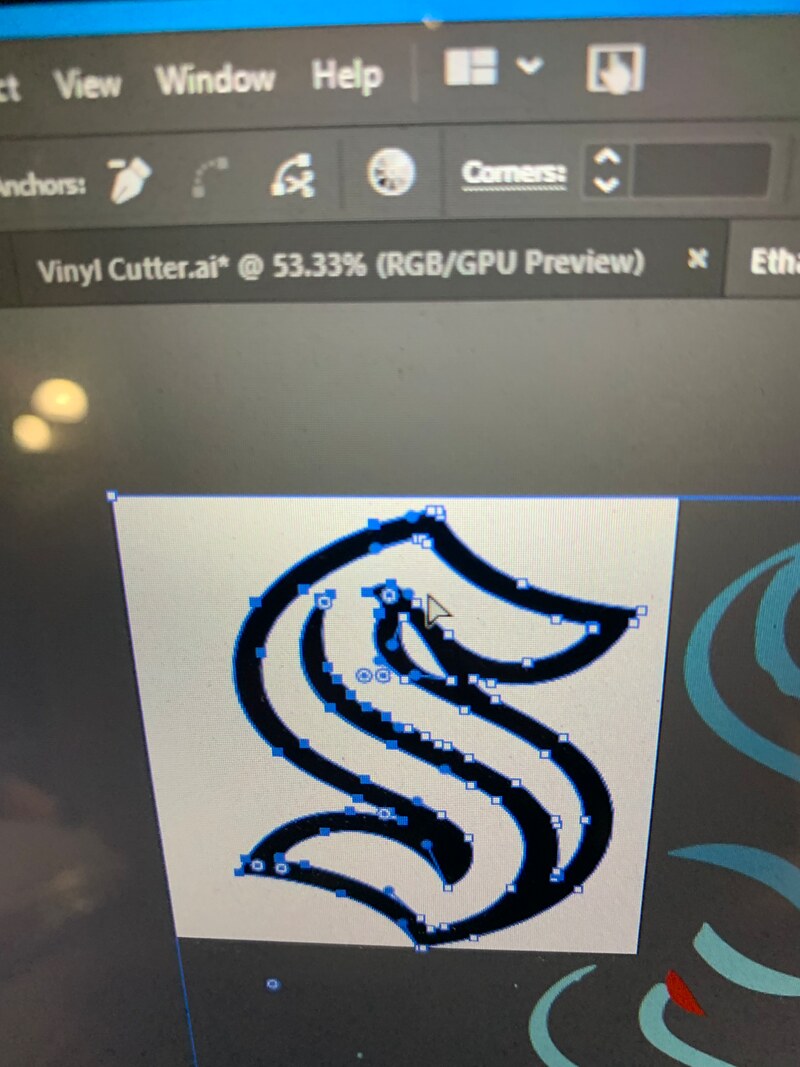
Step 1: Load into Adobe Illustrator
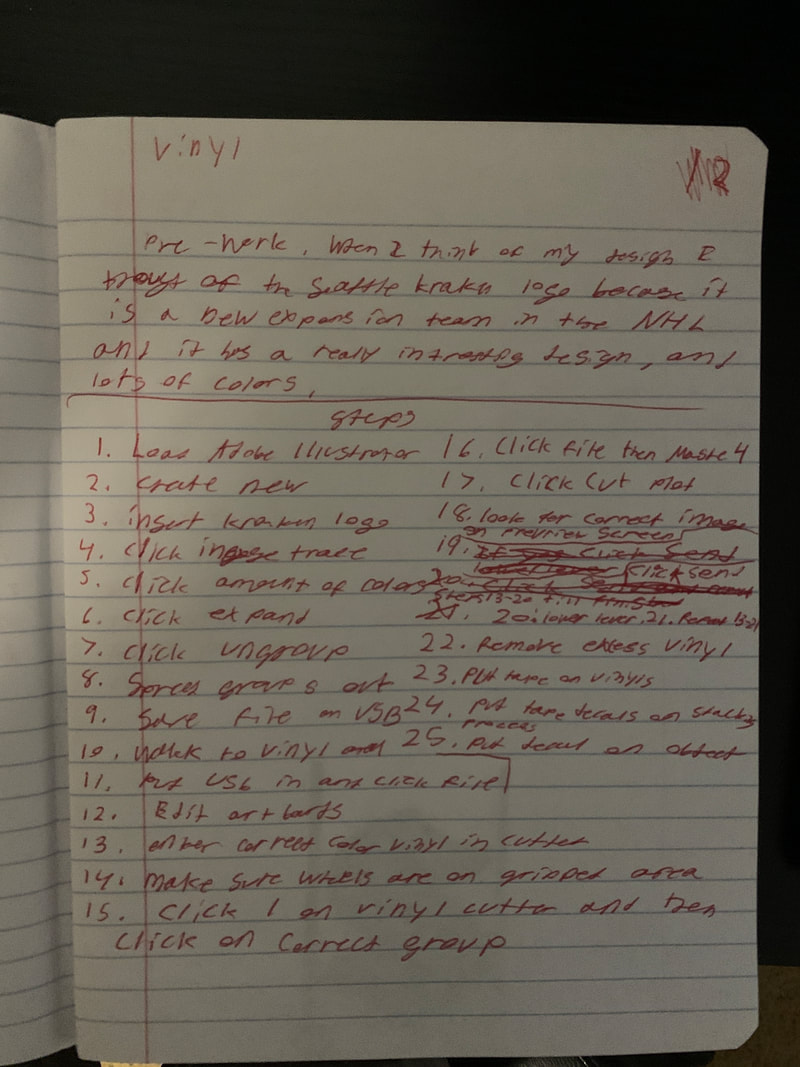
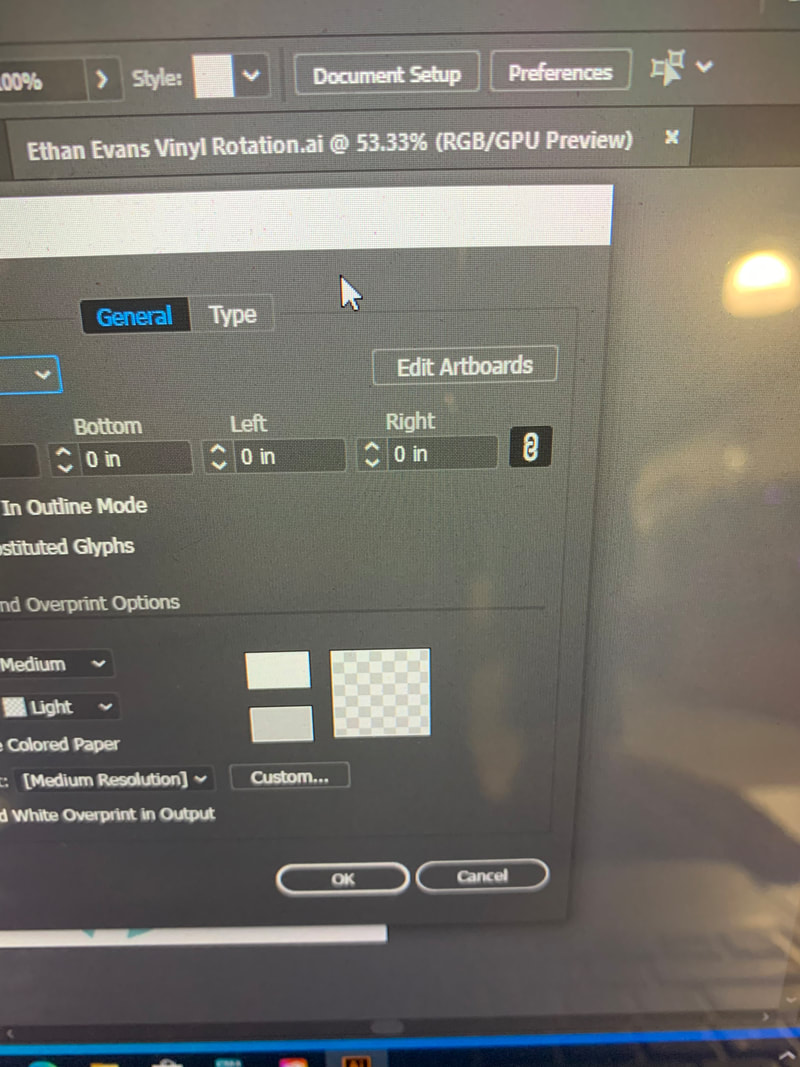
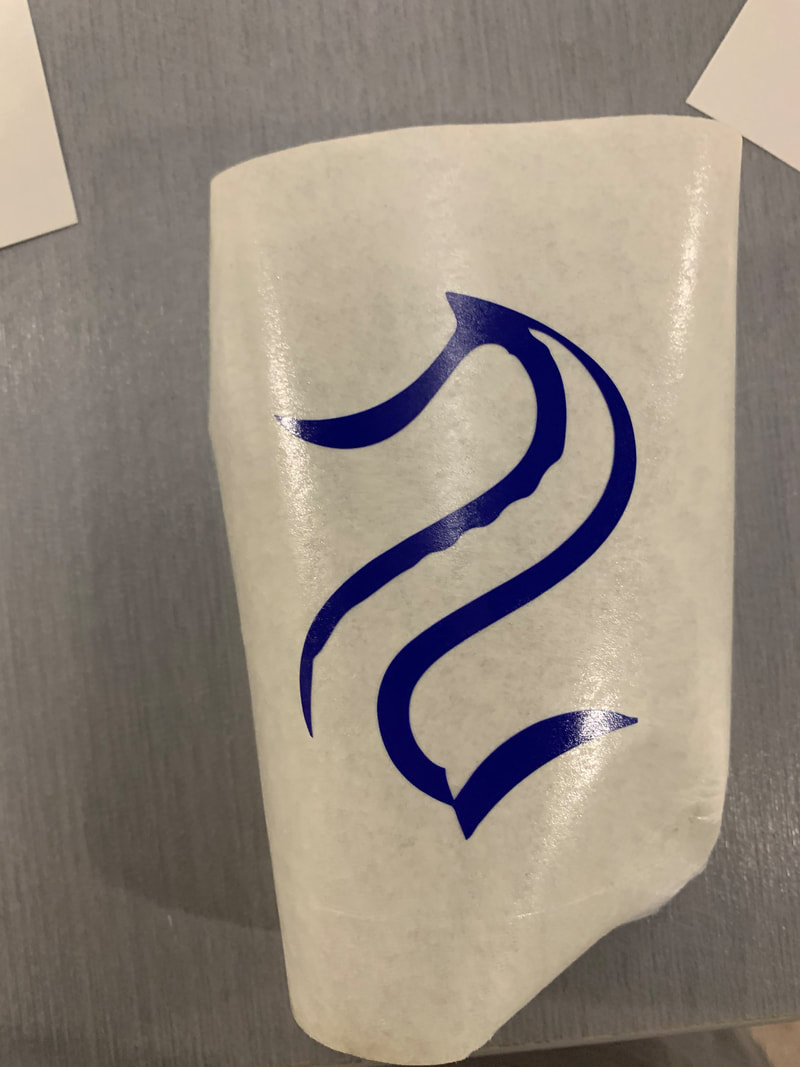
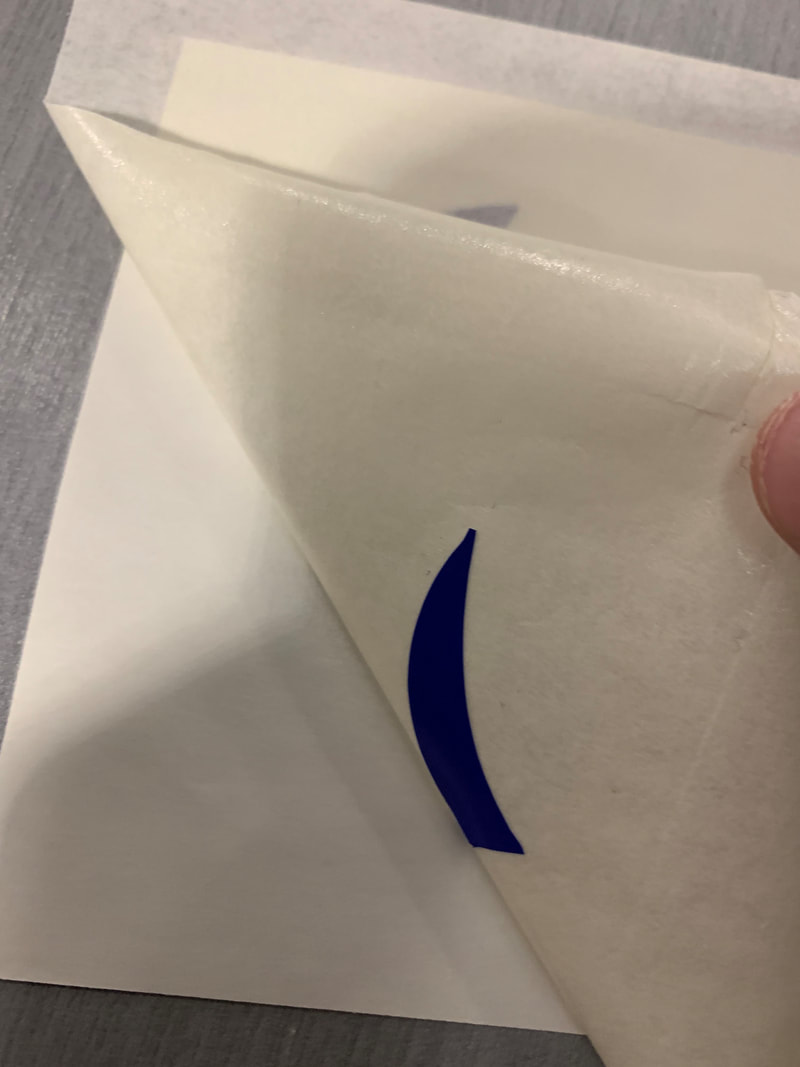
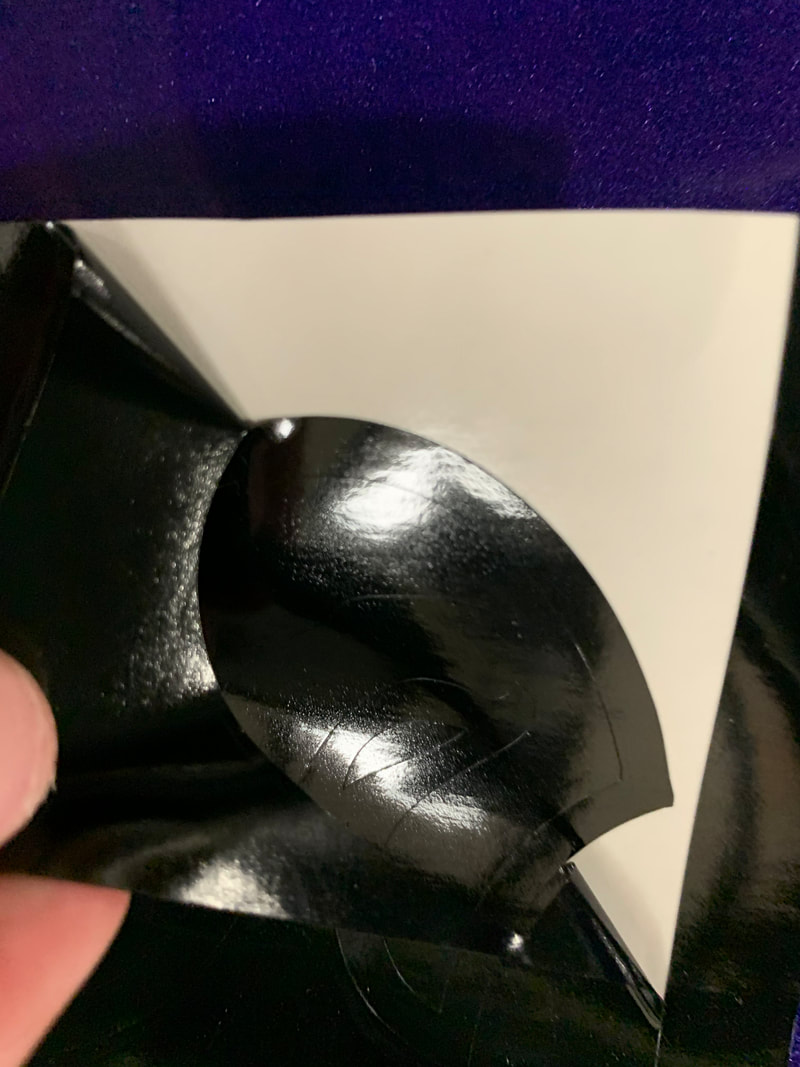
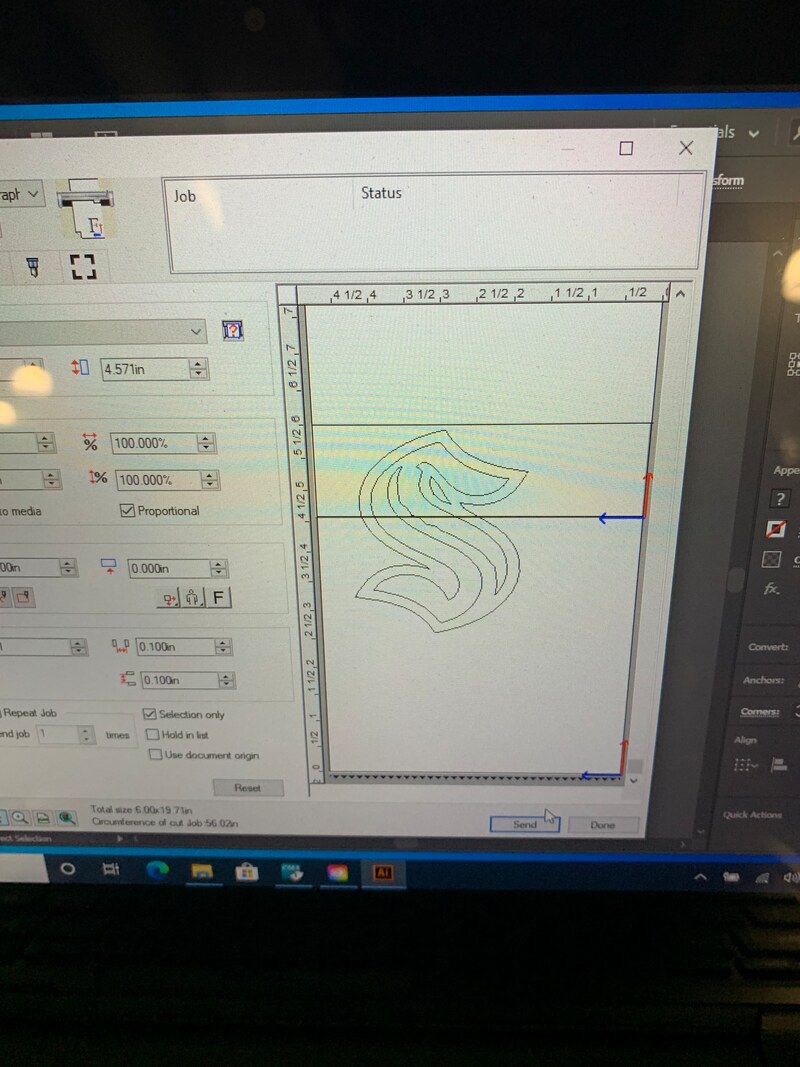
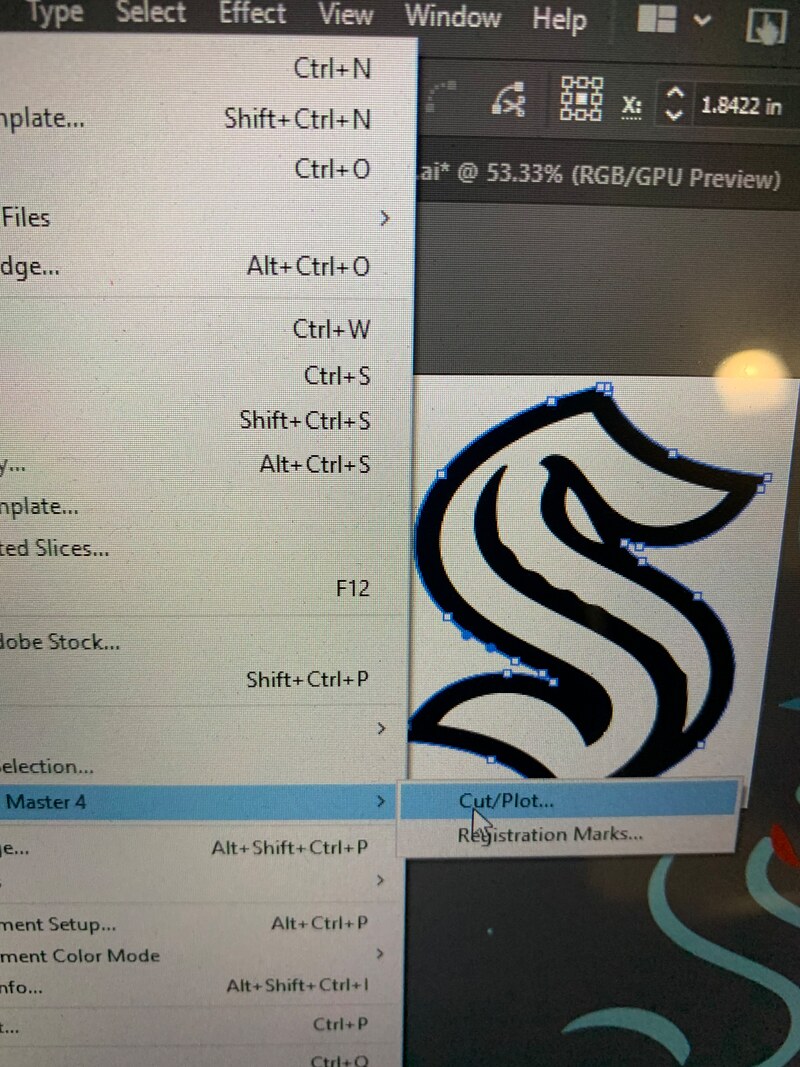
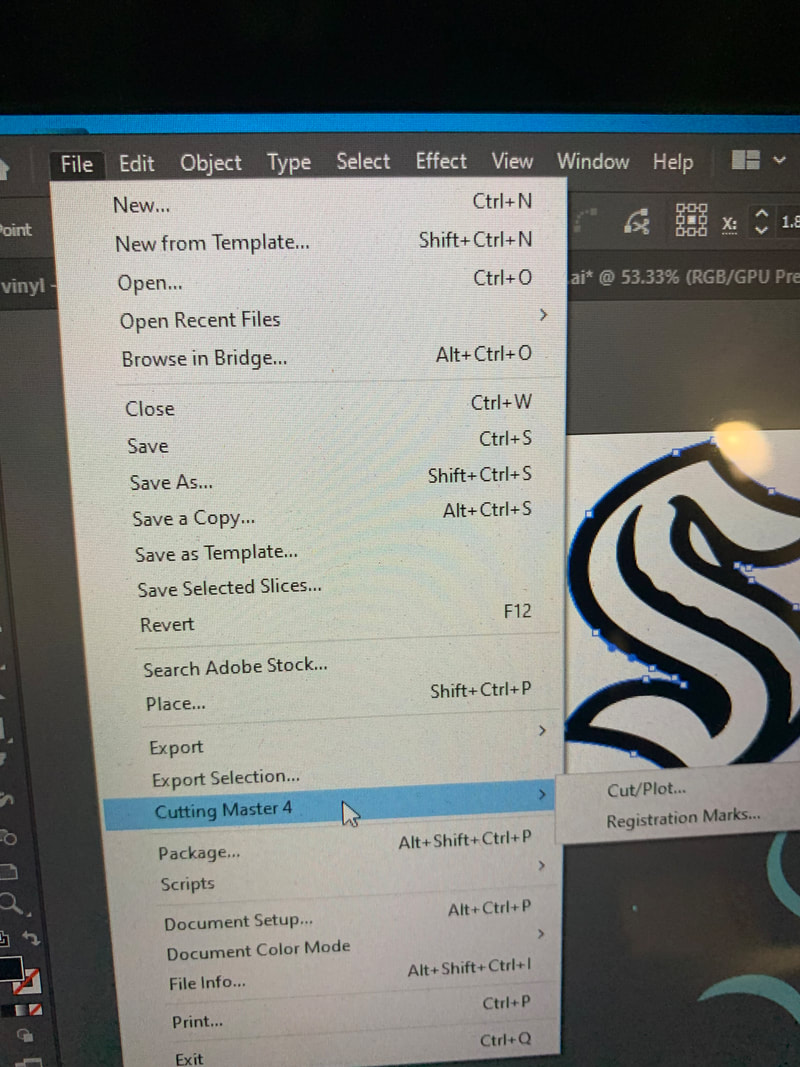
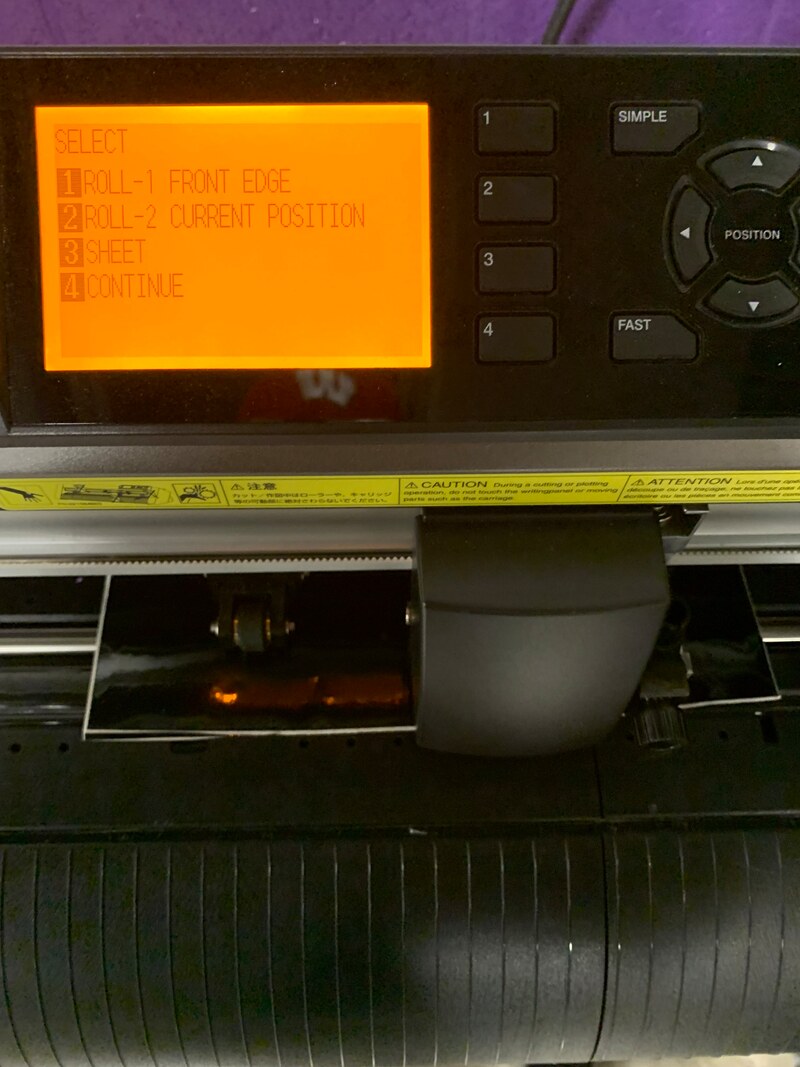
Step 2: click create new Step 3: Insert image into Illustrator Step 4: click on image trace Step 5: Click amount of colors Step 6: Click expand Step 7: Click ungroup Step 8: pull out each group and have them spread out Step 9: Save file on USB Step 10: Walk to Vinyl area Step 11: Put USB in computer and click on the correct file Step 12: Edit art boards so it prints the correct group Step 13: Put correct color of vinyl into vinyl cutter Step 14: make sure that the wheels are on grip areas and the lever is up. Step 15: Click 1 on vinyl cutter and then click on what group of vinyl you want to cut out Step 16: Click file and click master 4 Step 17: Click cut plot Step 18: make sure that image is shown on print preview screen Step 19: if yes click send Step 20: Lower lever and cut out vinyl decal Step 21: Repeat steps 13-20 until every group is printed and cut out Step 22: Remove excess vinyl Step 23: put tape on each group of vinyl and use squidgy to stick it to the vinyl Step 24: Carefully put tape with decals on each other with a stacking process Step 25: Once decal is put together place it on object |


What I have learned
What I have learned in this unit is how to use the vinyl cutter to set up vinyl sheets and the steps to cut out the vinyl. Also, I learned how to build a decal layer by layer if the vinyl decal has multiple colors. These skills will be very useful if I want to use vinyl for a project in the future.
