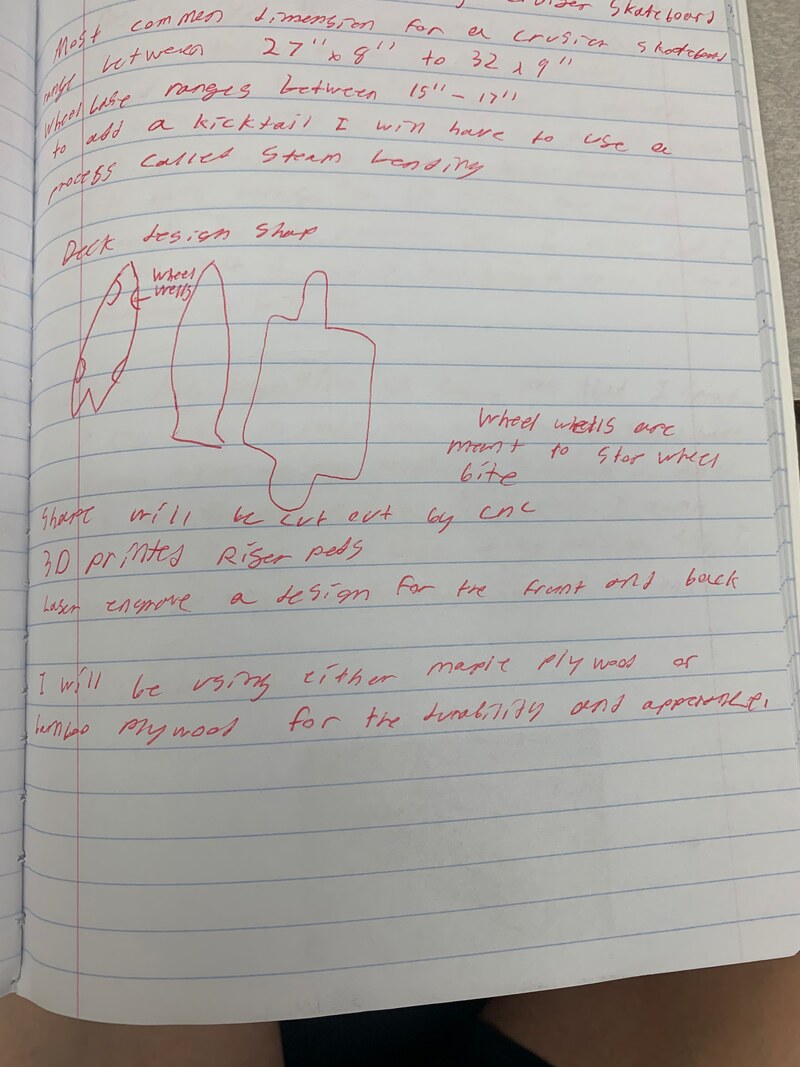
First Idea of Skateboard
When I chose that creating a skateboard would be my final project I knew that it would have to follow some of my rules. One rule that my designs I make have to original and something I like. Another was to make something that I would actually use. The last one being that I would build something that I would have fun building but also learning at the same time. This way I can improve my skills in the innovation skills.
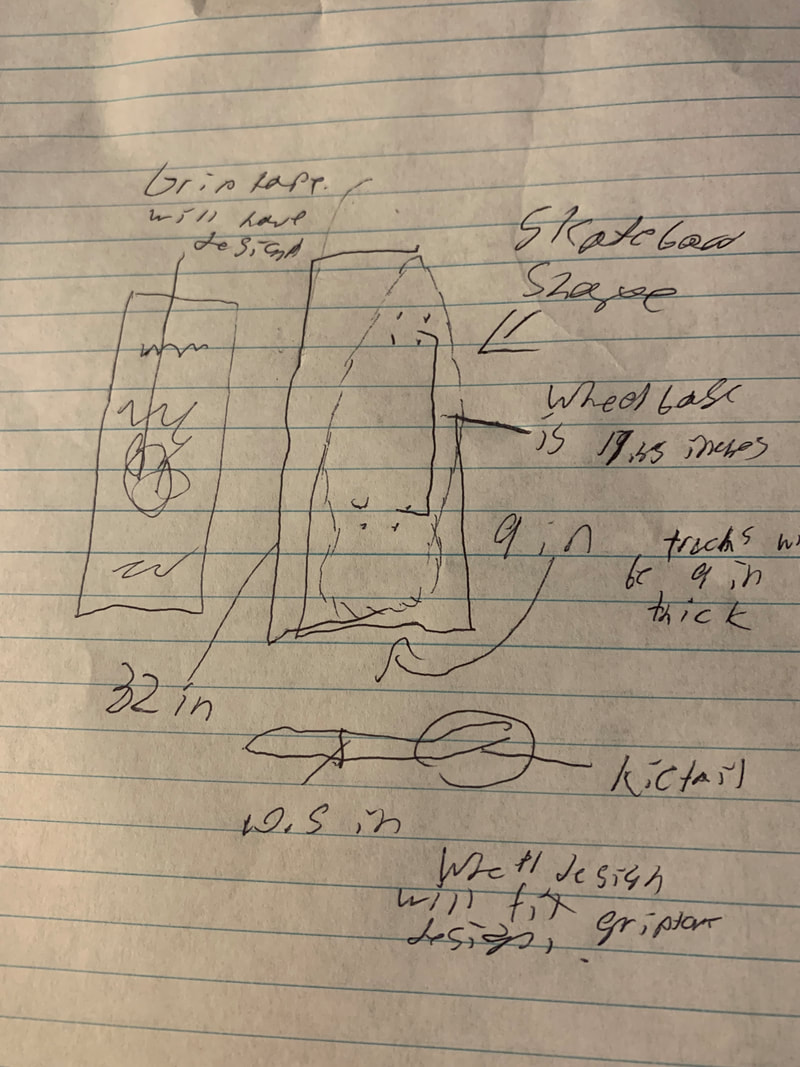
sketches from notebook
Timeline of creating the Skateboard
|
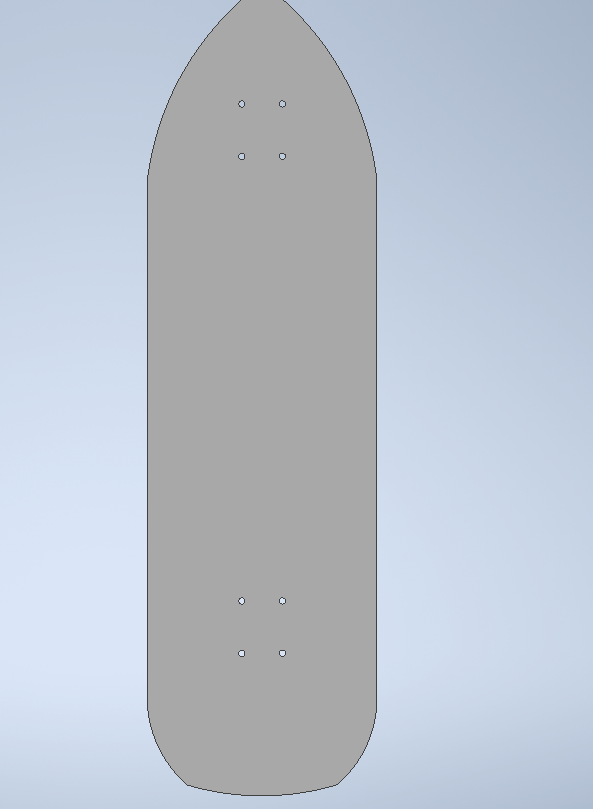
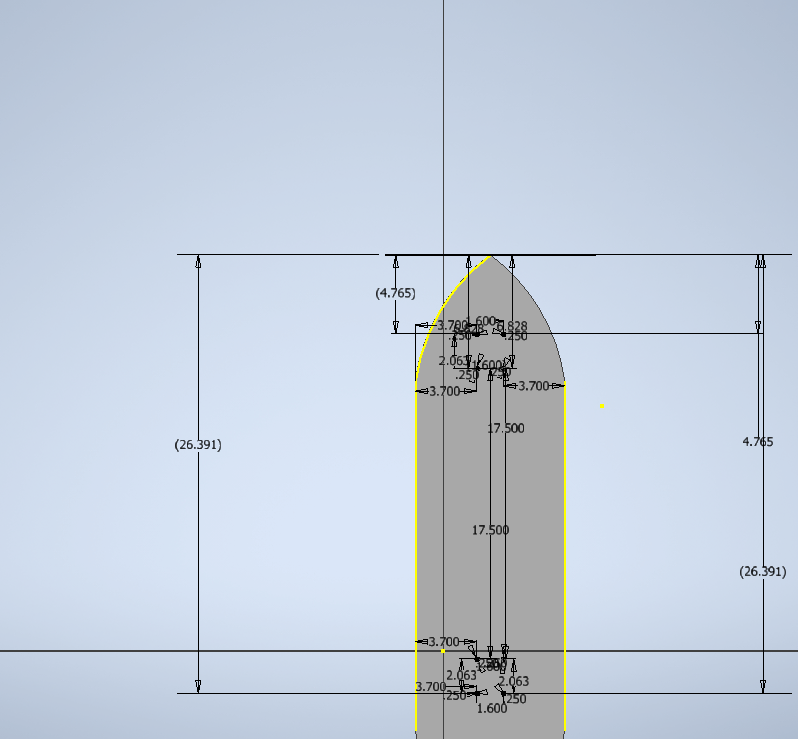
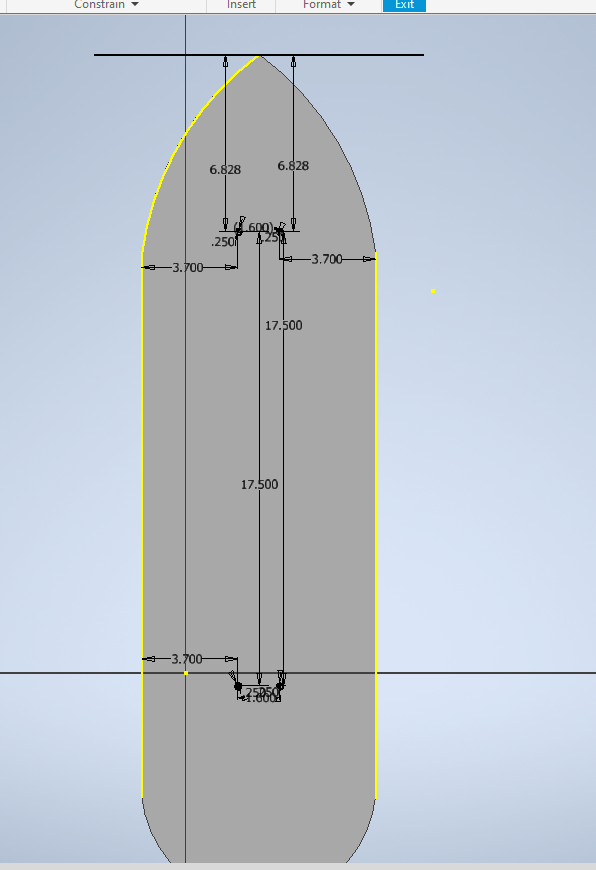
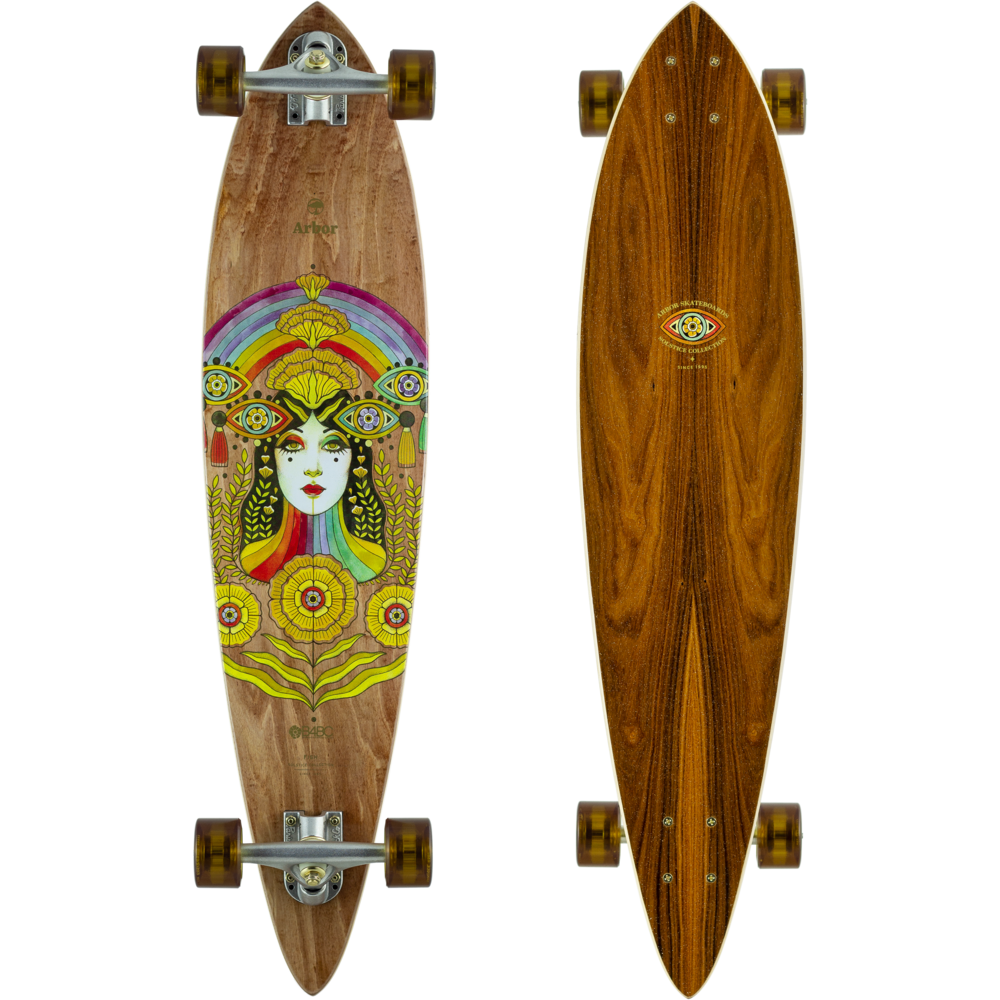
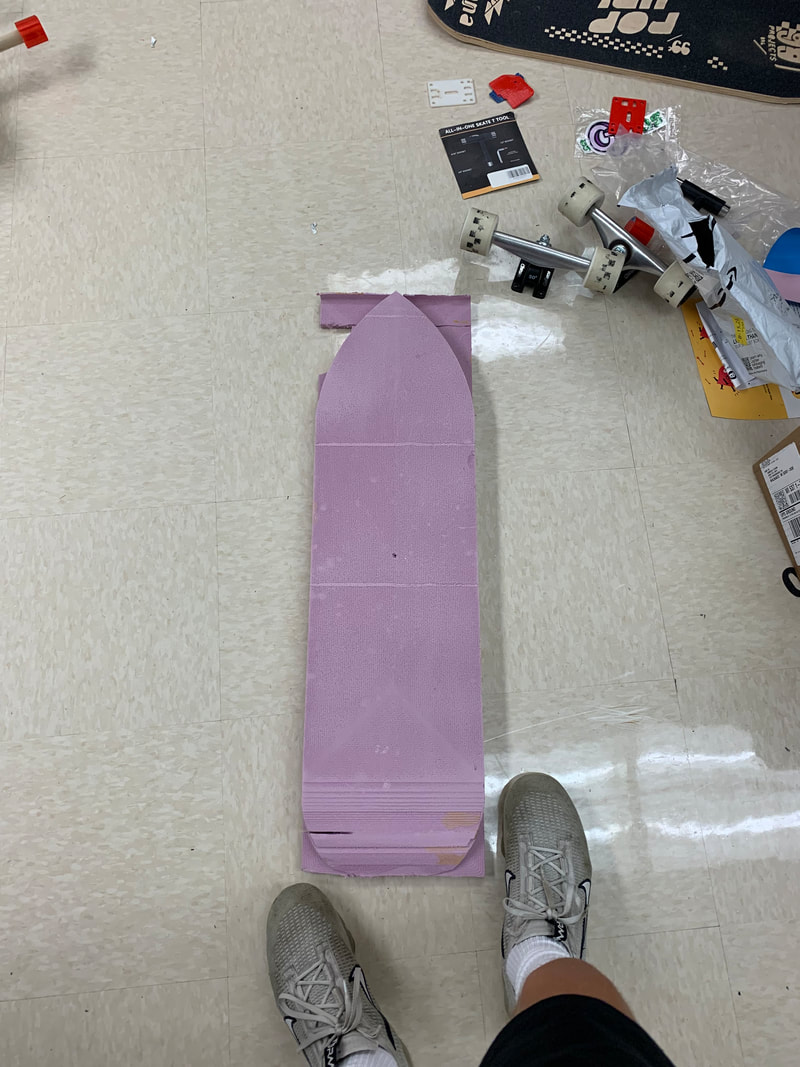
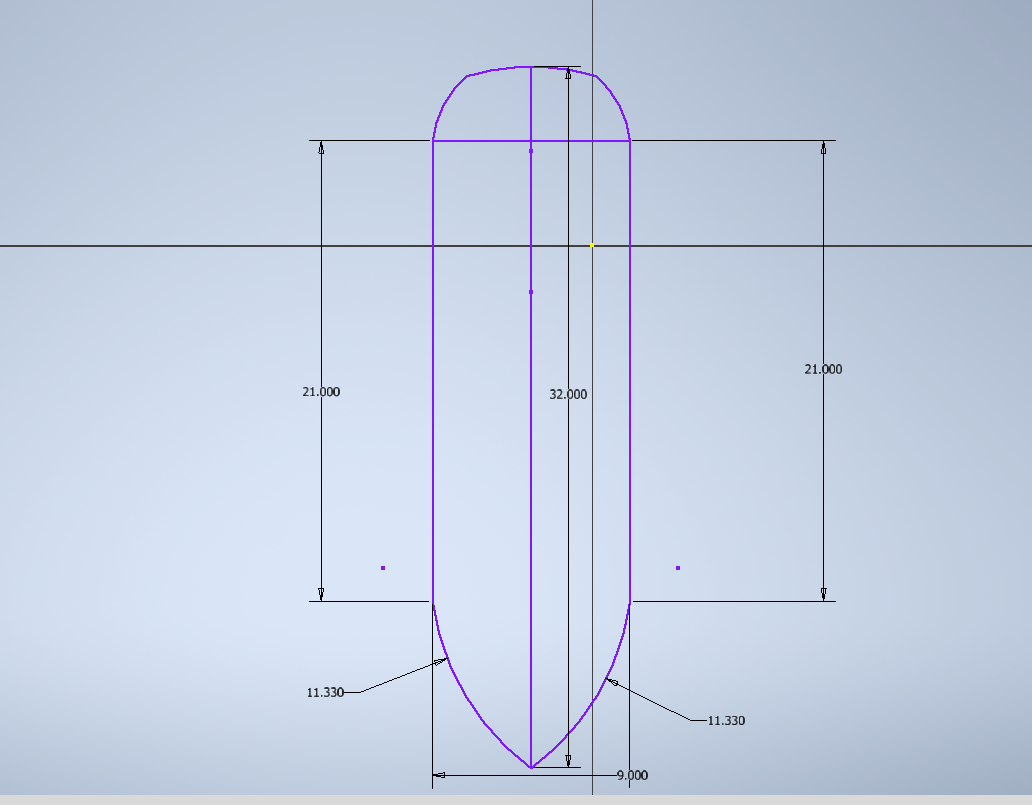
The first step I did was create my board shape because this the most important part of any skateboard. I already knew that I wanted to make the shape a pin tail with a kick tail. While creating the shape on inventor, I used images online as a reference to keep the shape similar to the pin tail but while adding my twist to it at the same time.
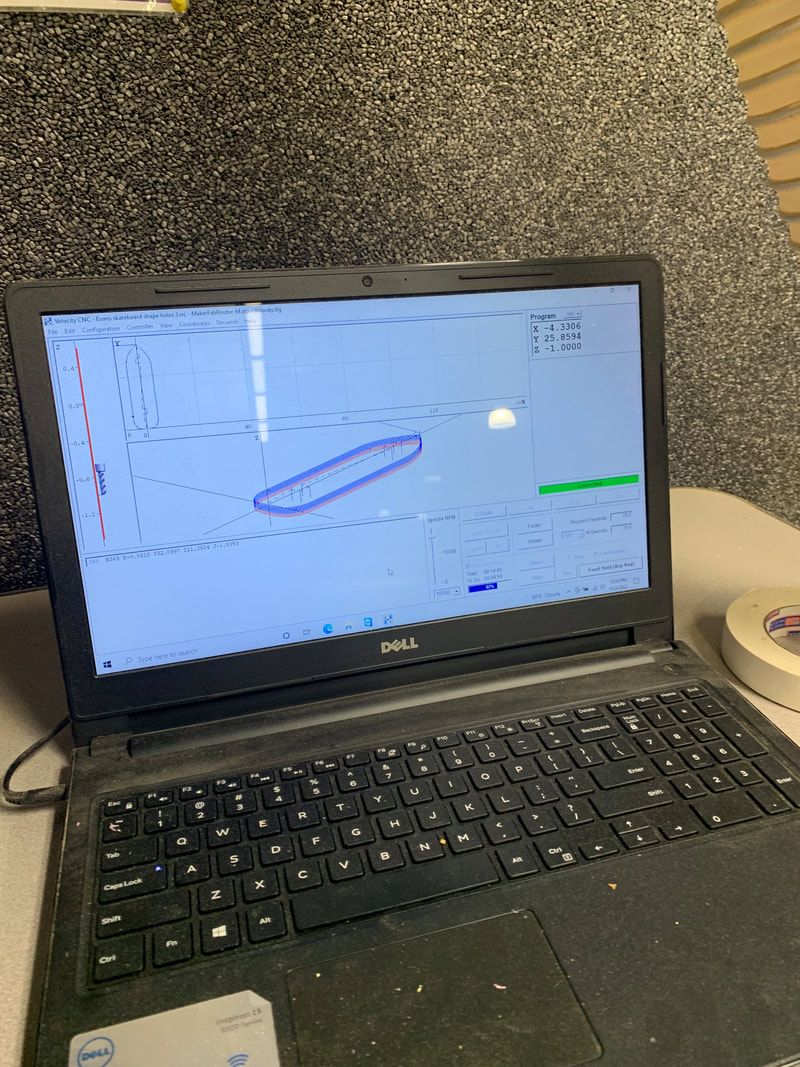
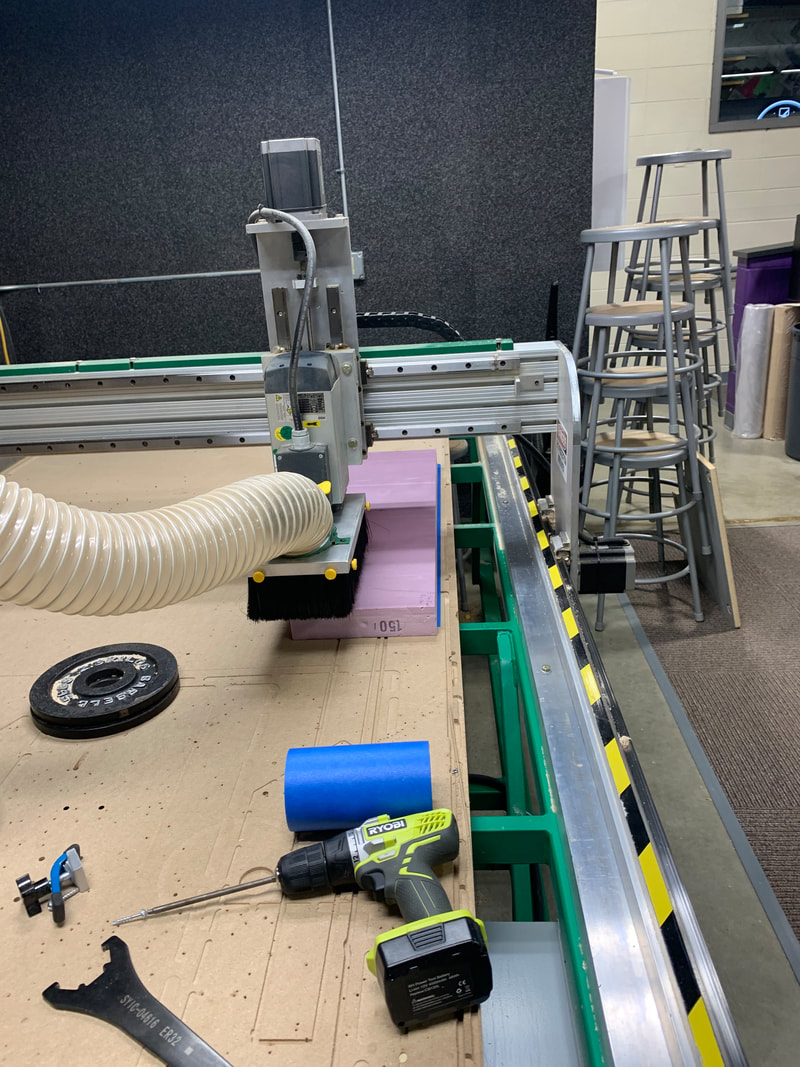
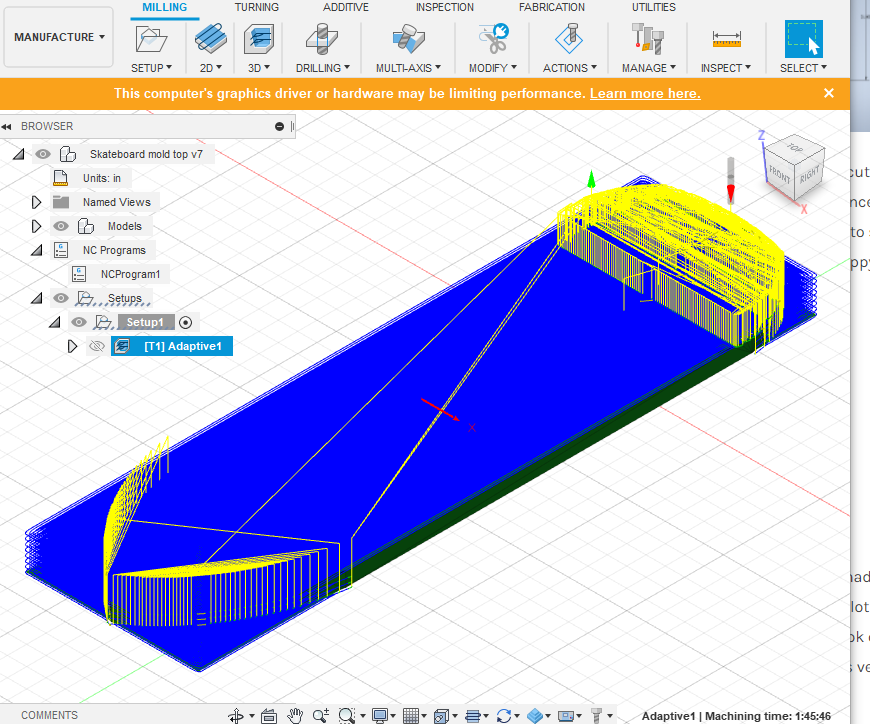
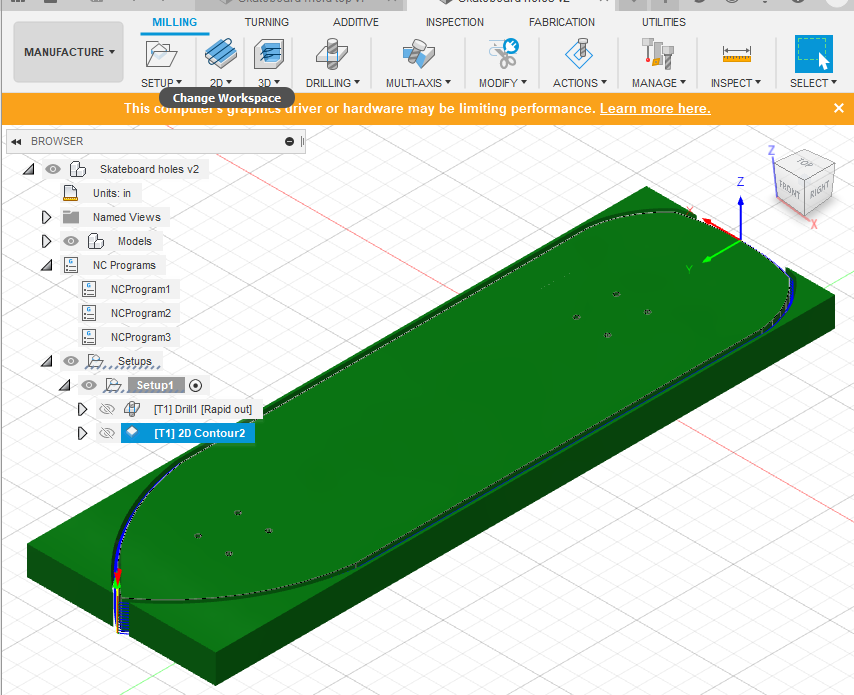
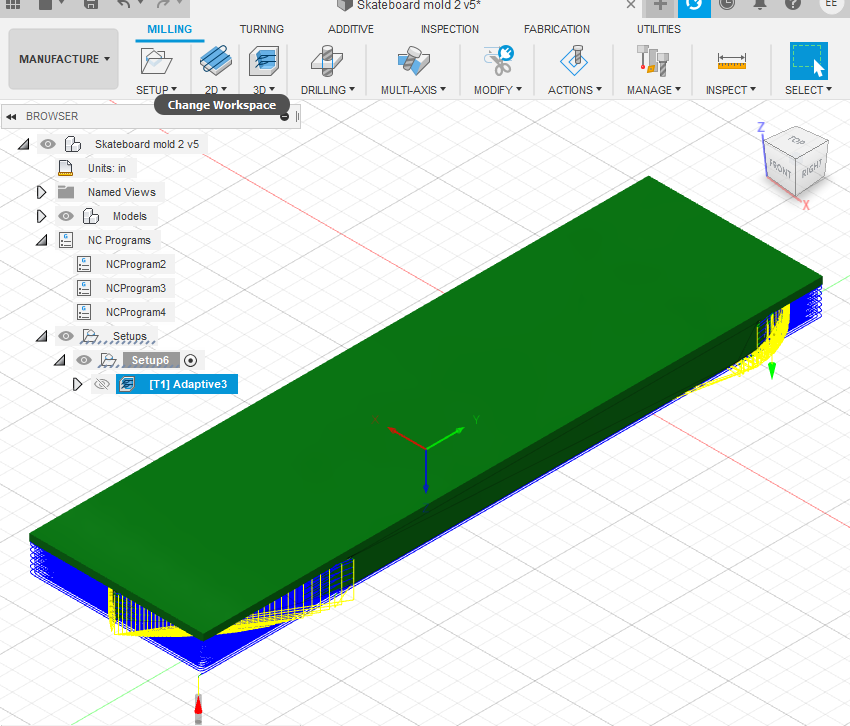
Now it is time to use the cnc so that I can route out my skateboard mold. First I had to get to work on fusion. These files were pretty challenging at first to set up, but once I got more familiar with fusion it was a breeze. once my files were finished I hopped on the router and got my foam mold set up. The top of my mold got half way through then stopped working. Then I redid the same top mold and the second try was a success. After that I did the bottom of my mold and it was a success
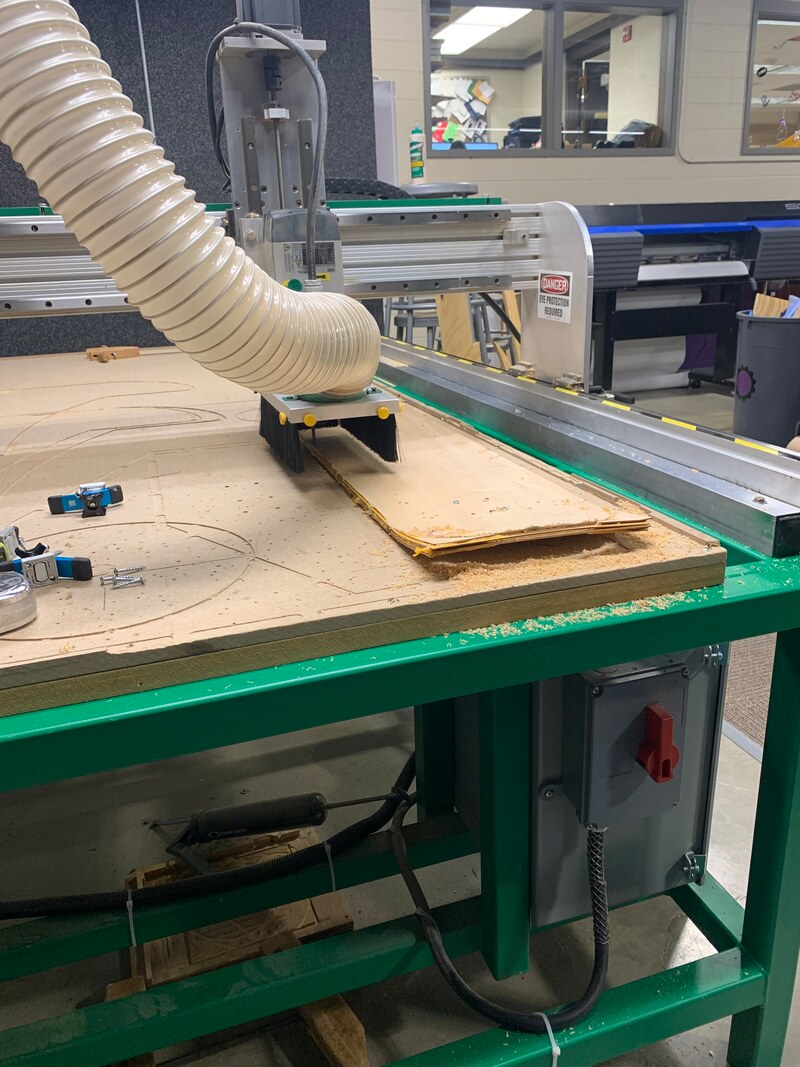
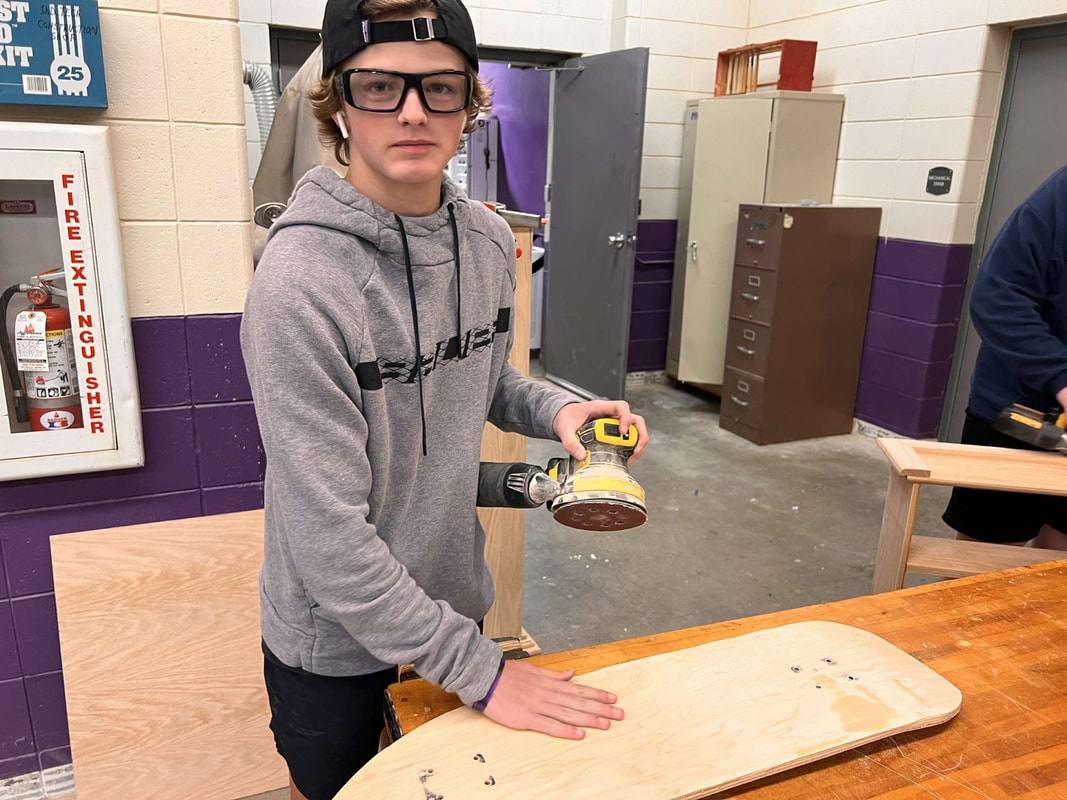
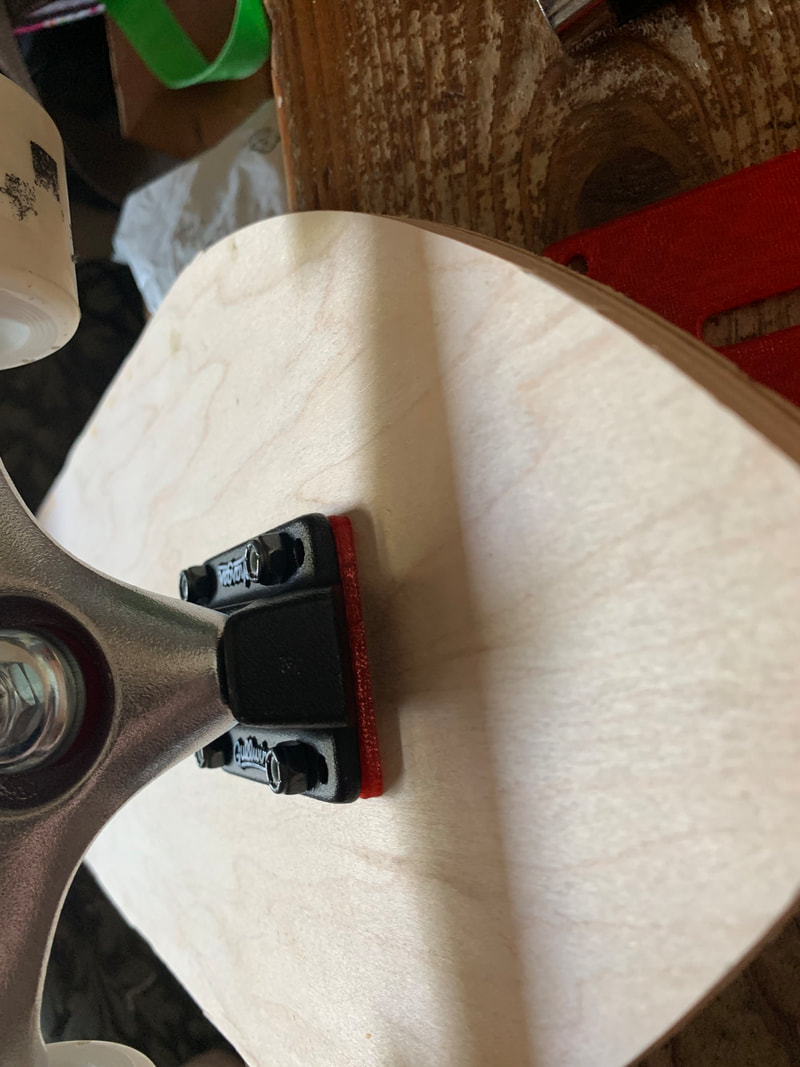
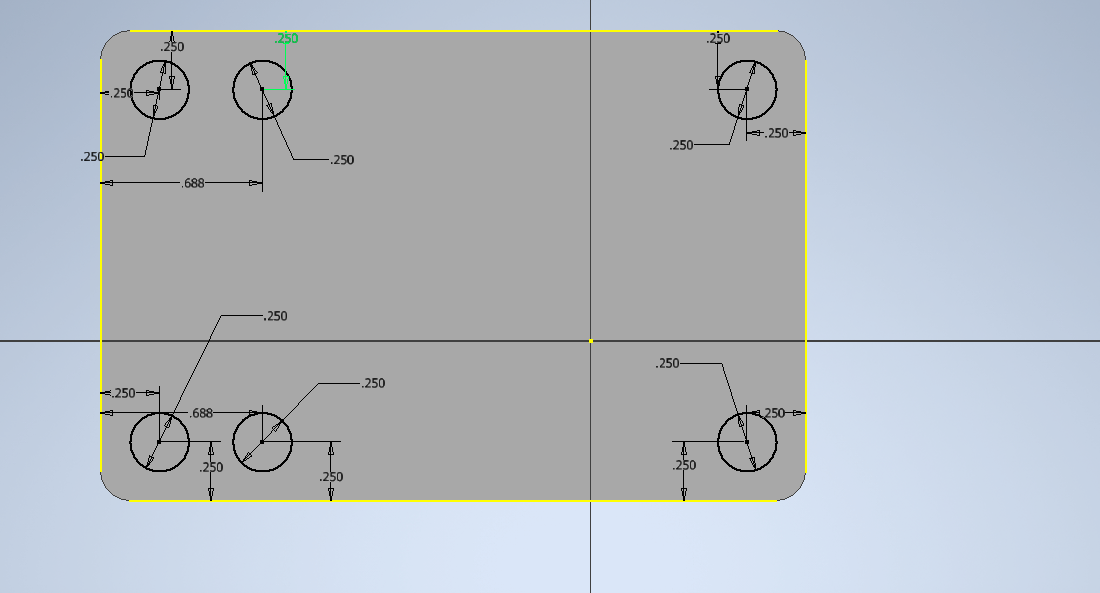
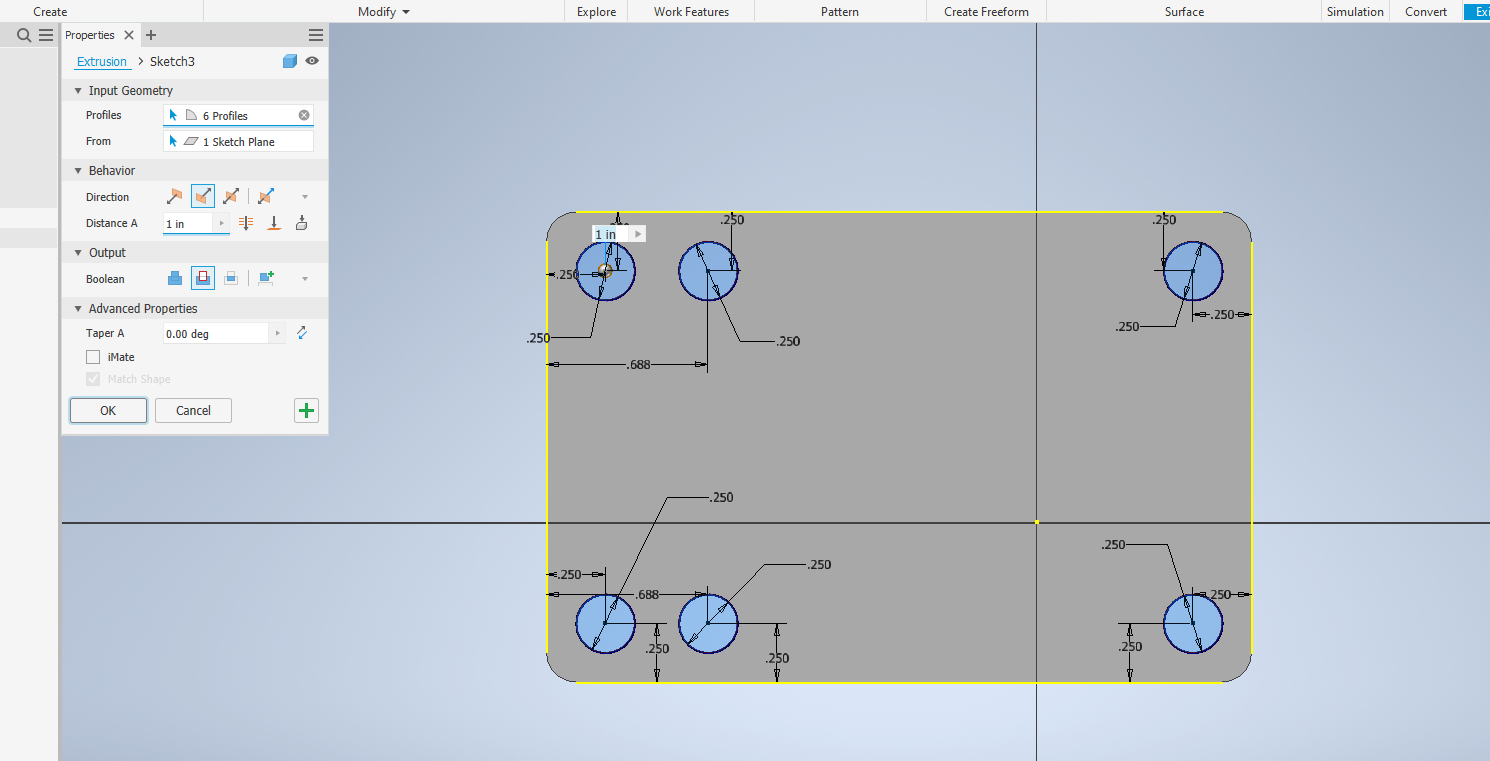
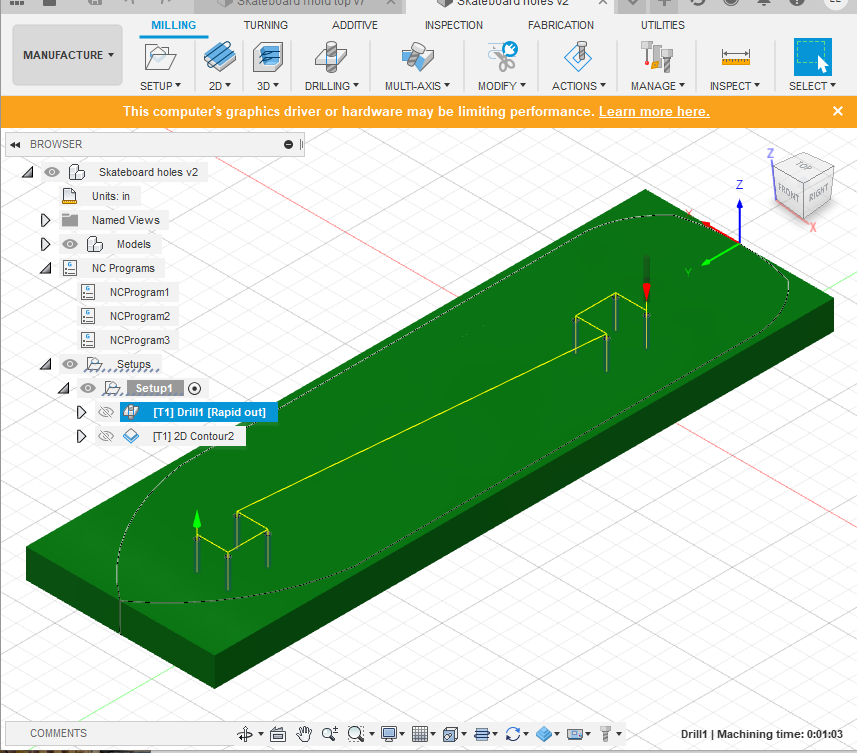
Since my wood was ready to be cut into shape I made my illustrator file and added holes for my trucks to fit into. then I created the fusion file which was a piece of cake. All I had to do then was to put the file to life. This was a success and the holes for my trucks fit like a charm. The only problem was that I had to do a lot of sanding to get the glue stains off.
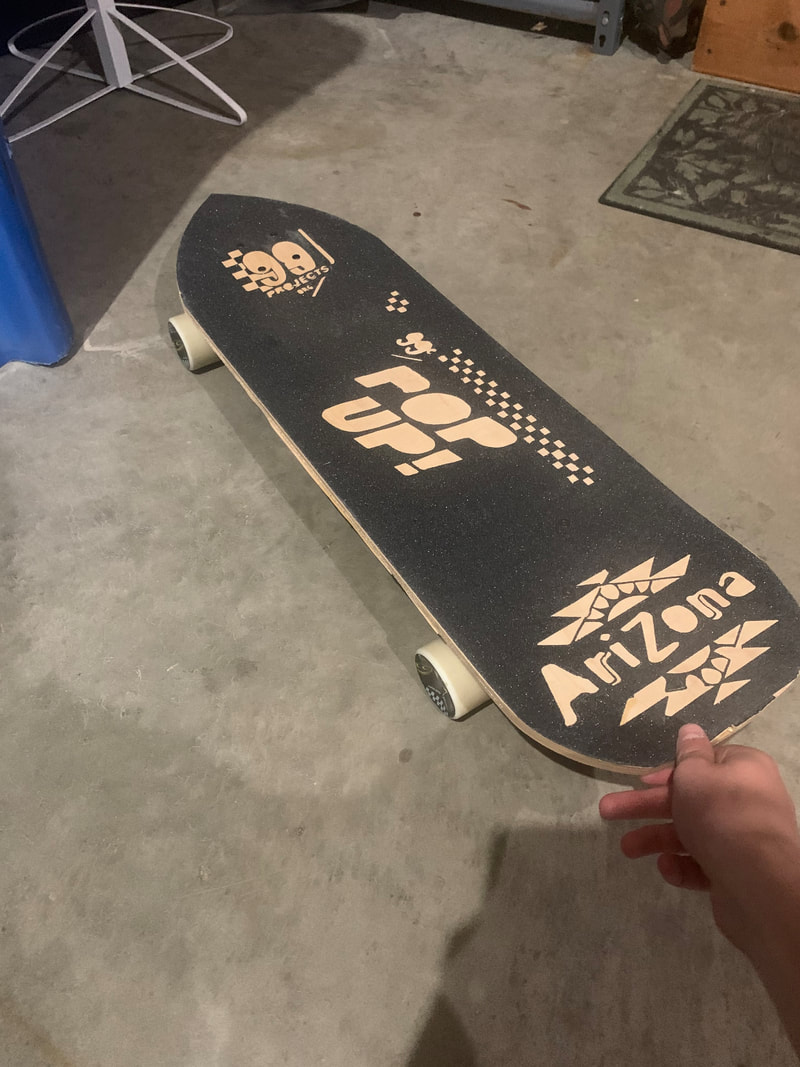
       Since both my grip tape and board was ready. I decided to put them together and it ended up looking great. This was my first time putting on grip tape so I was very happy with the result.
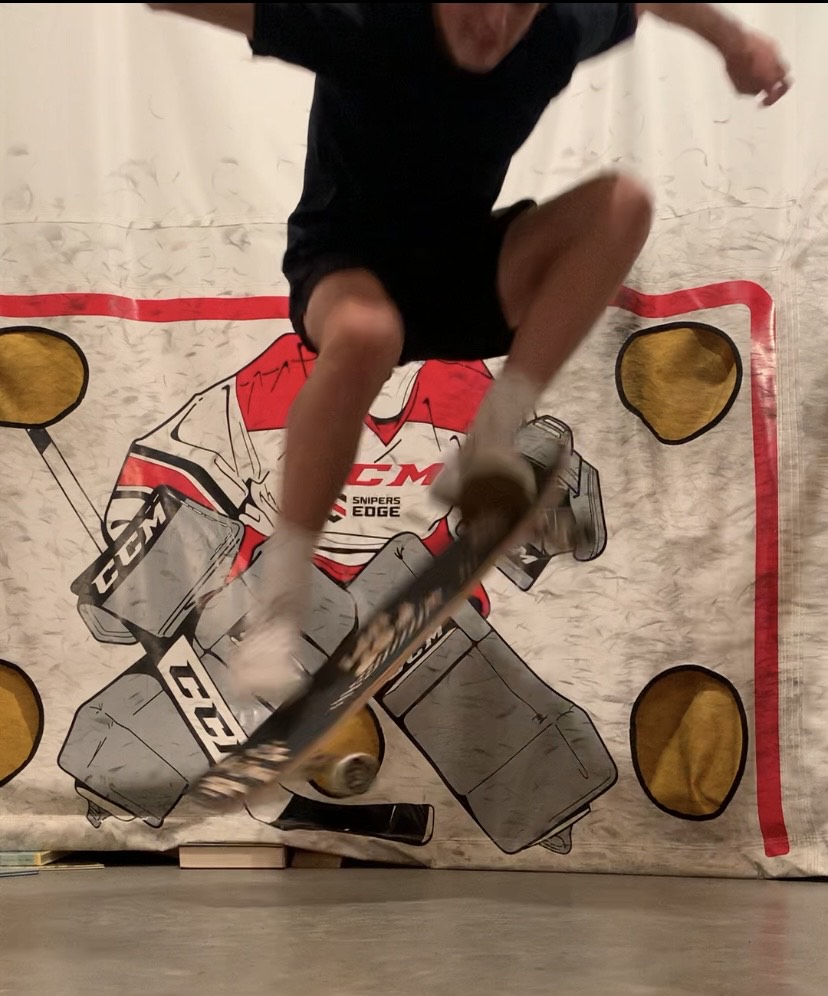
Then I just put all my parts together and I had finished my skateboard. If you look on the pictures to the right you can see me do an Ollie in the air.
|
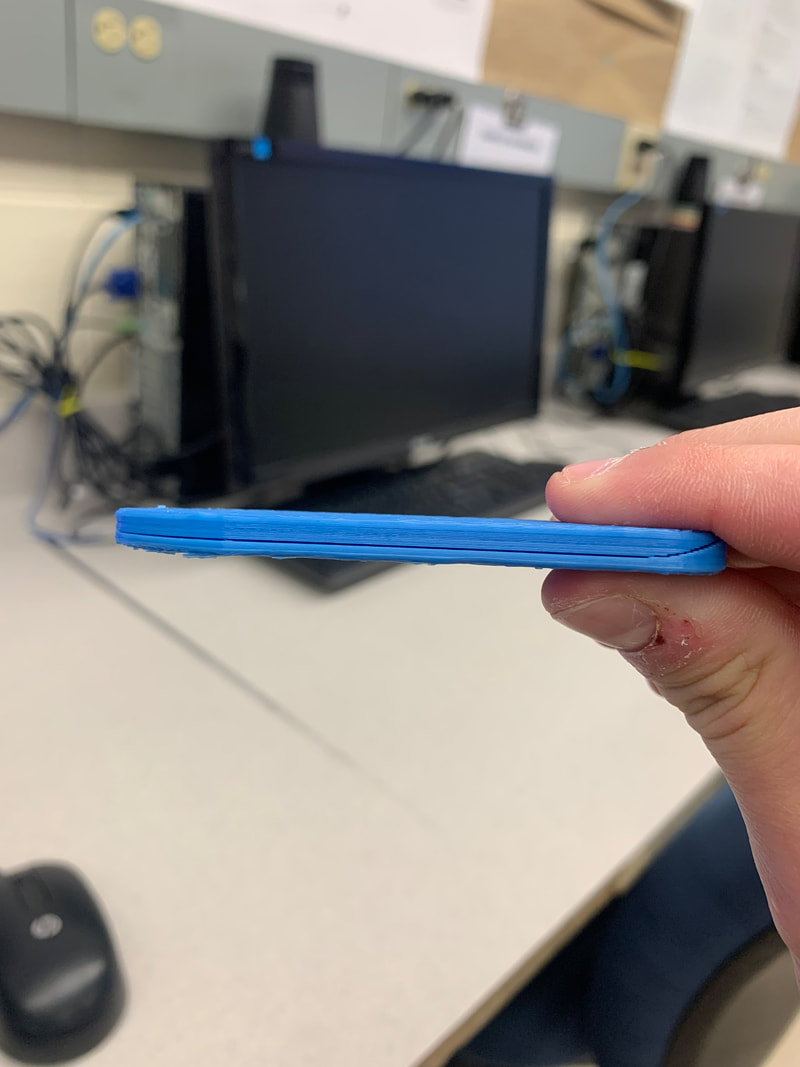
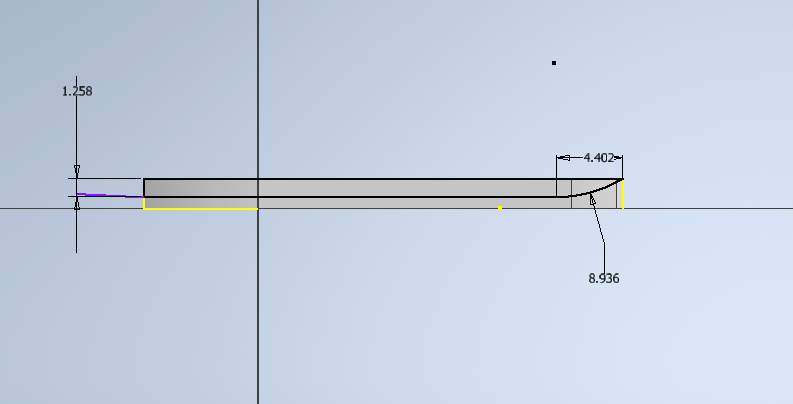
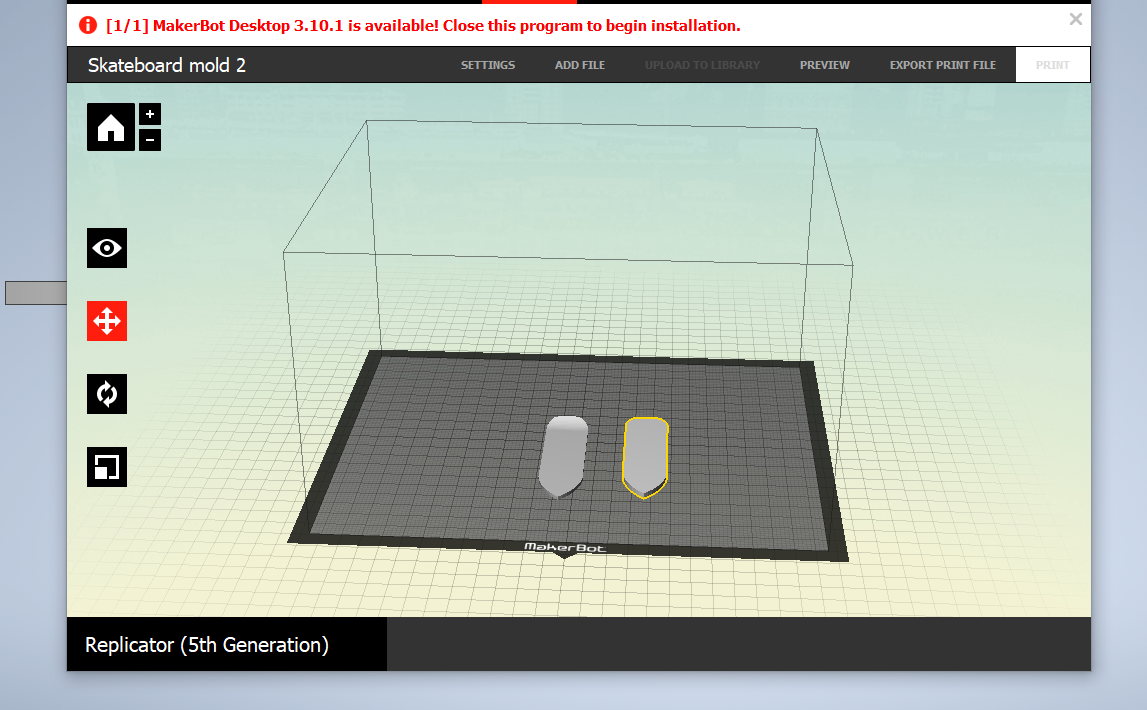
Once I was happy with shape I extruded the sketch. Then I decided to cut down the middle of the extrusion and add the kick tail curve to the board. Once that was finished I 3D printed a miniature version of the skateboard mold to see what it would look like in person. The print was a success and I am happy with curve for the kick tail.
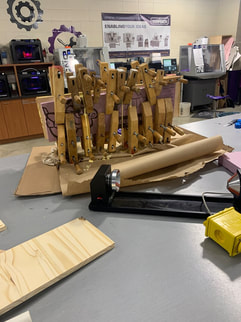
Since my veneer was ready and my molds were ready to be used. All I had to do then was to glue it all together. The glue was very messy but adding a lot of glue is very important so that the wood does not separate. After 2 days I took off the foam mold and the wood was all glued together. Also, the kick tail was very present which was very important to me.
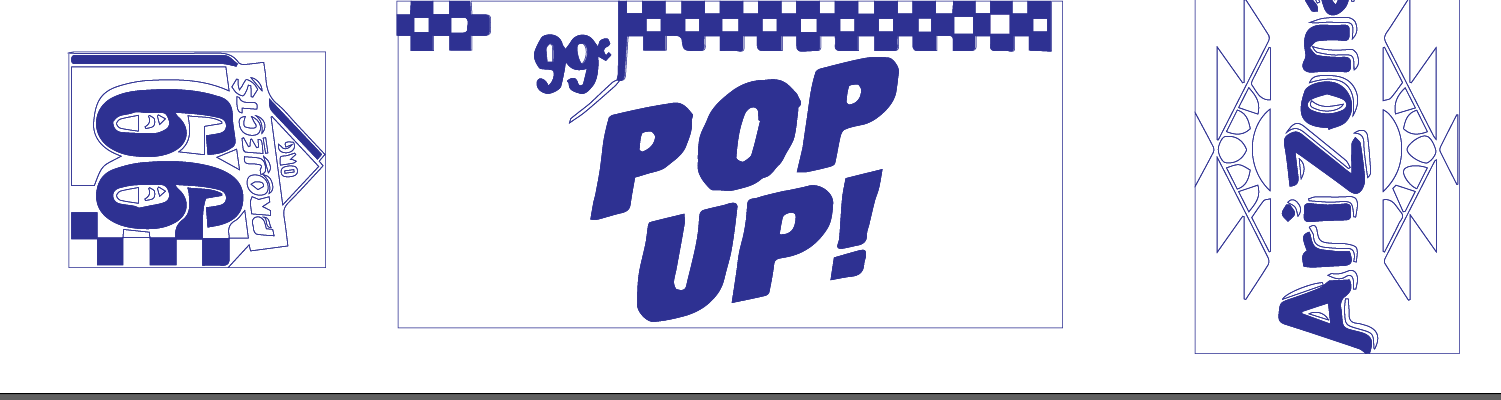
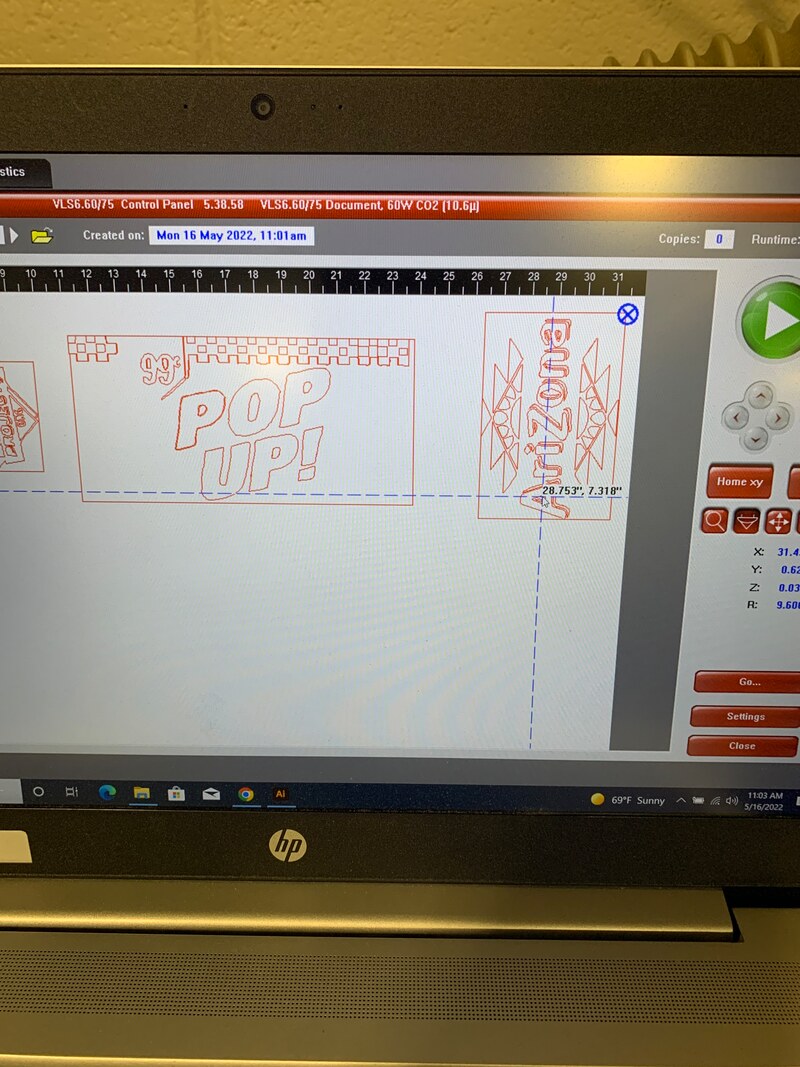
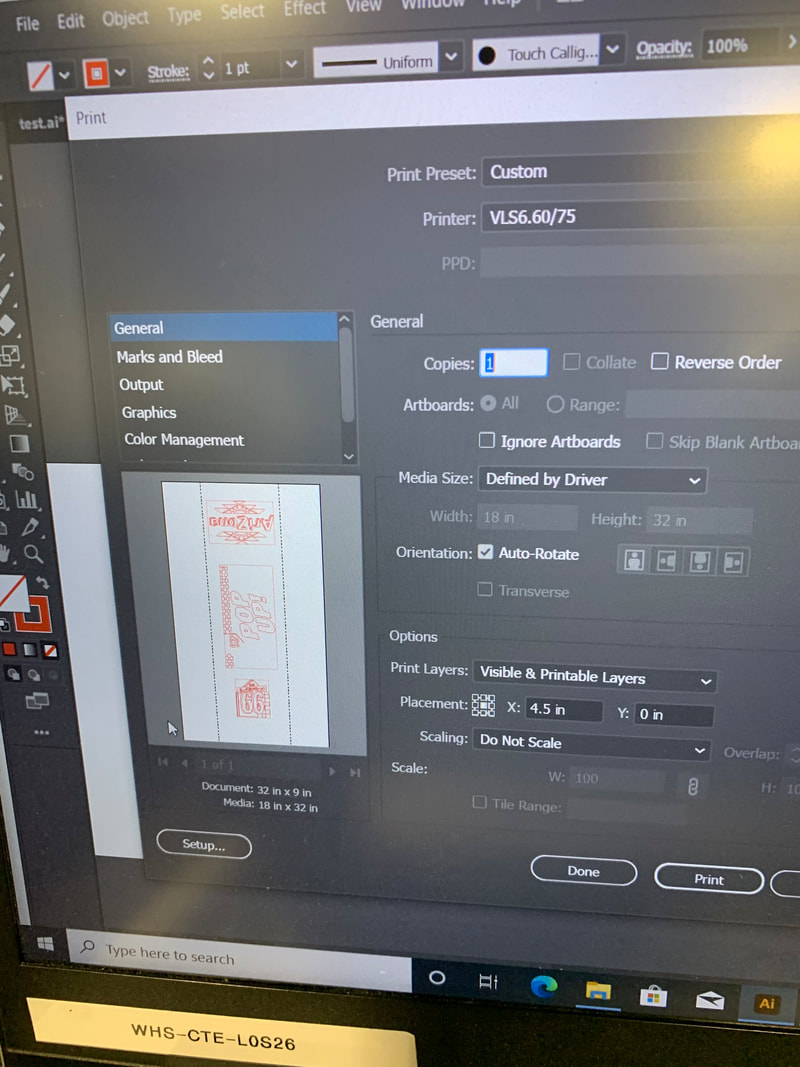
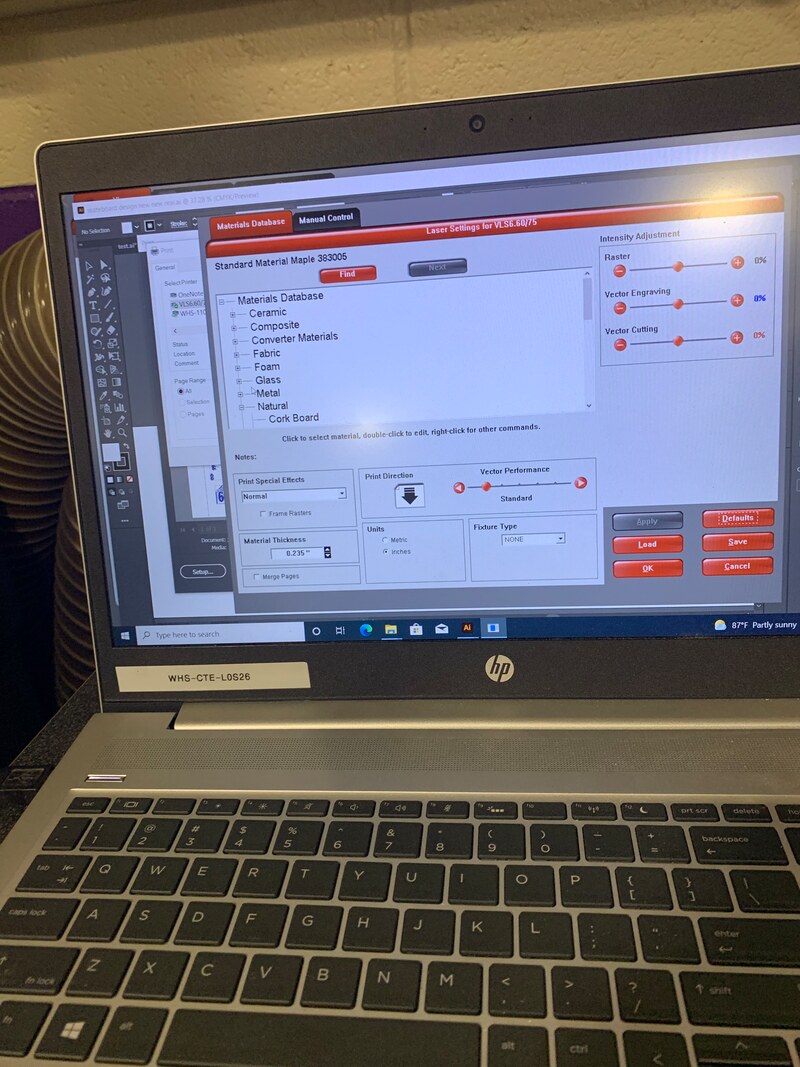
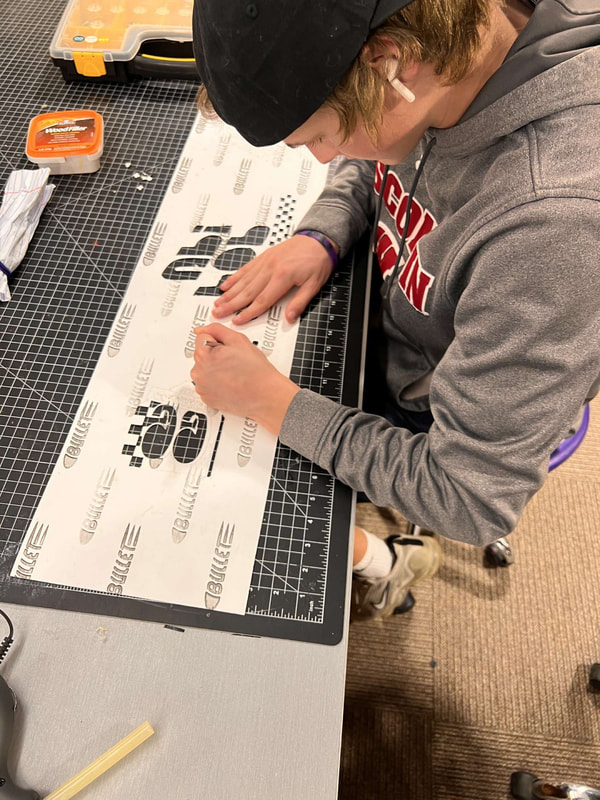
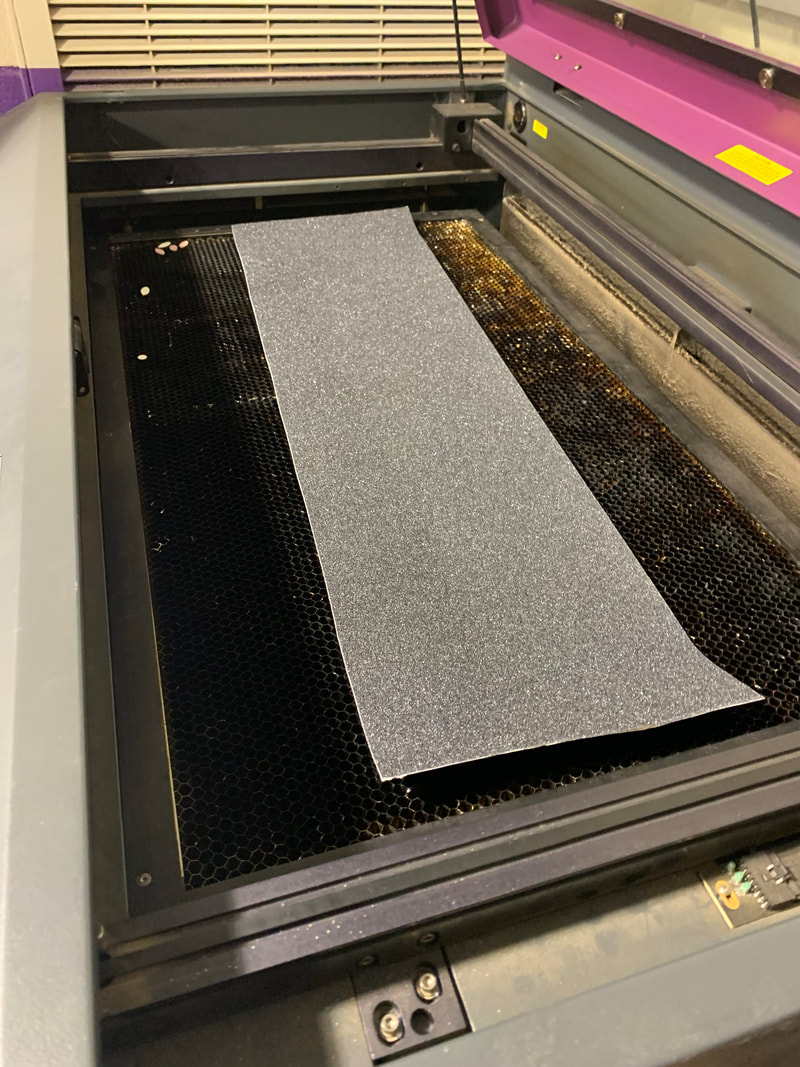
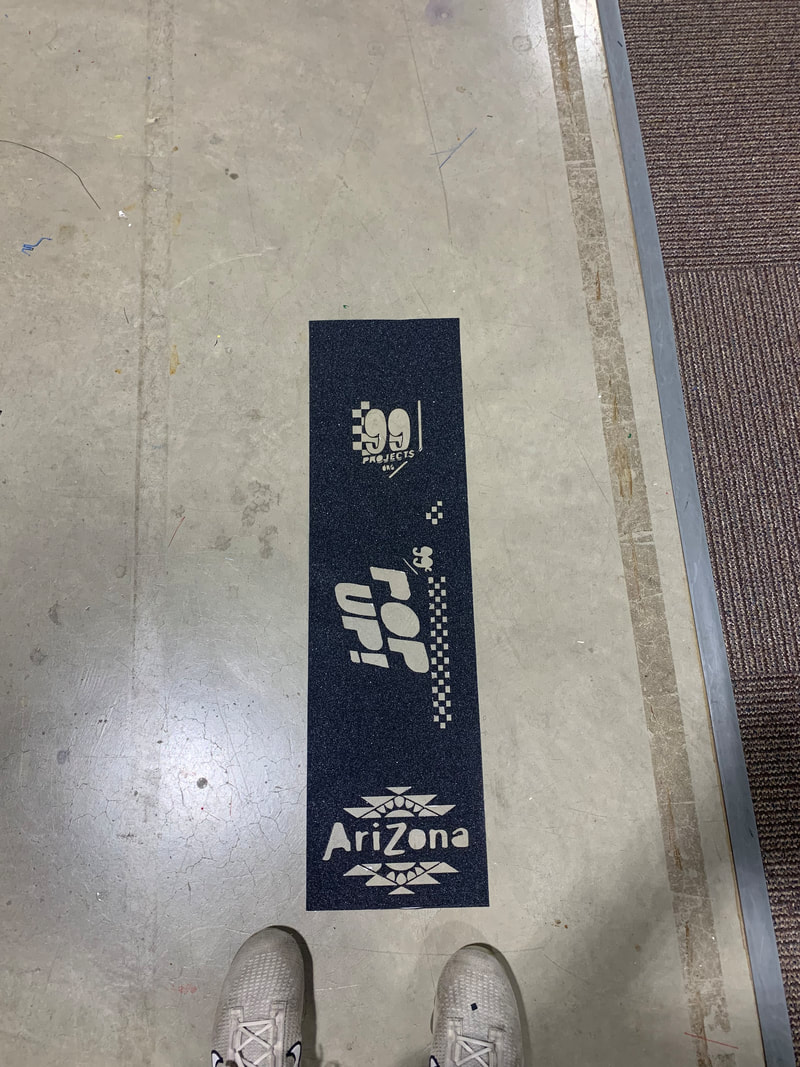
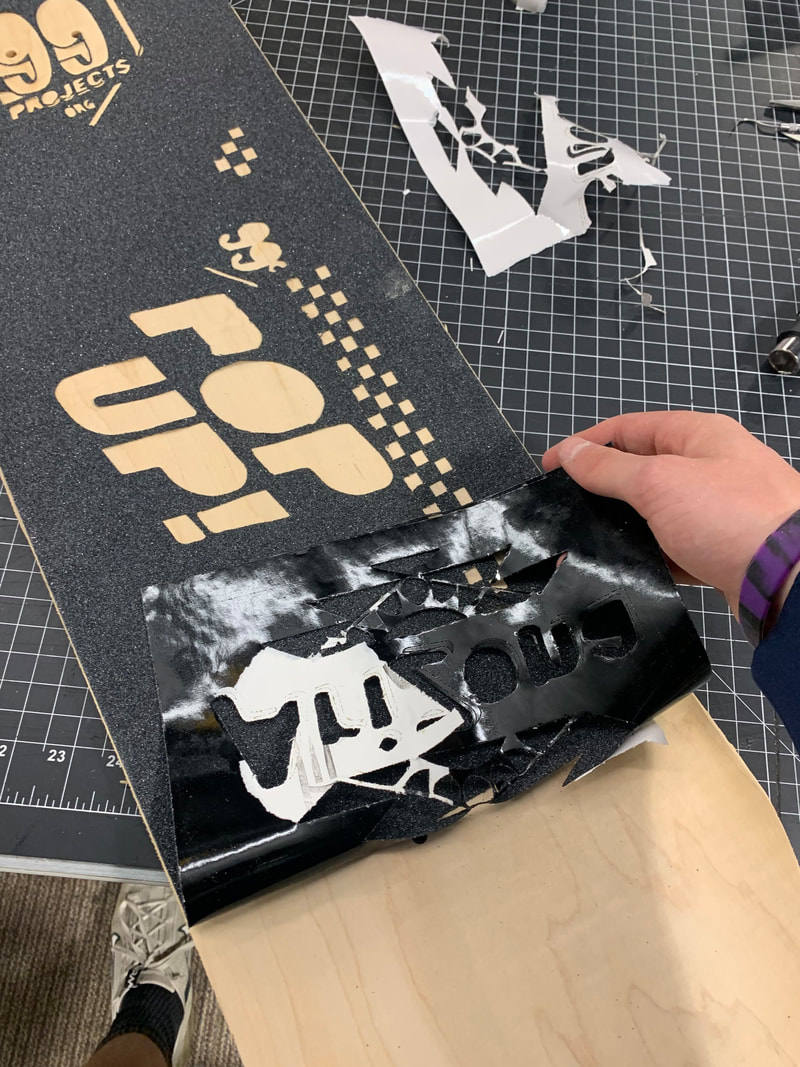
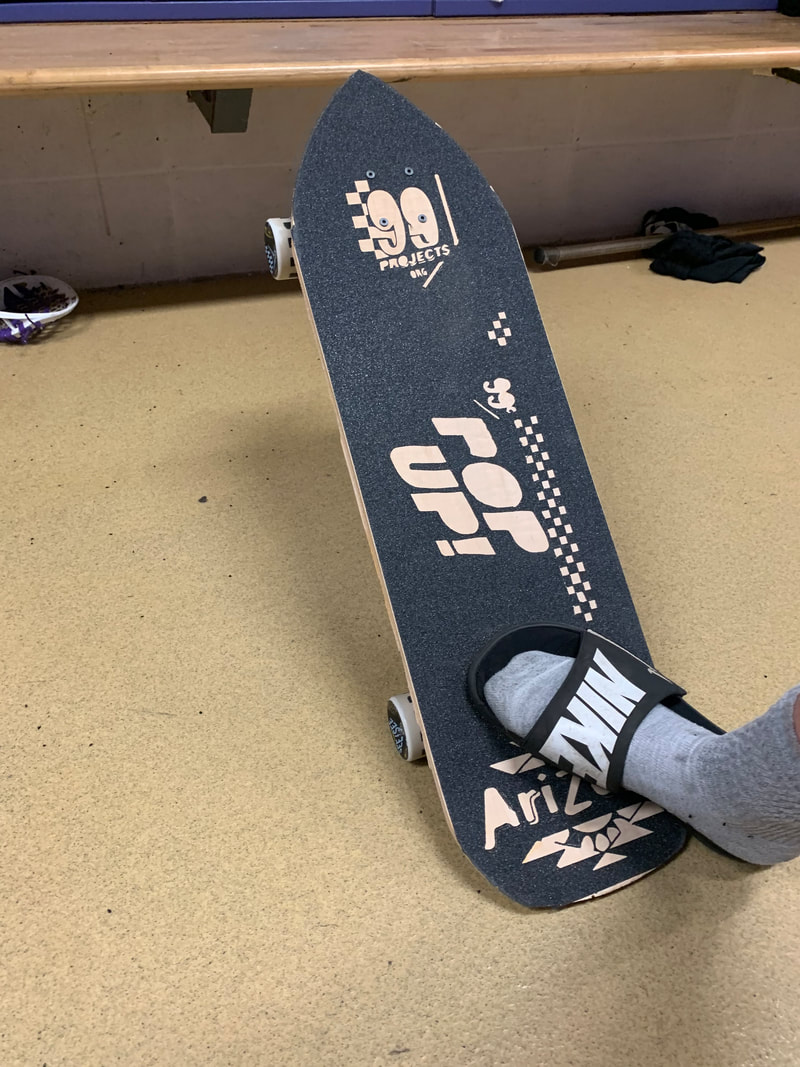
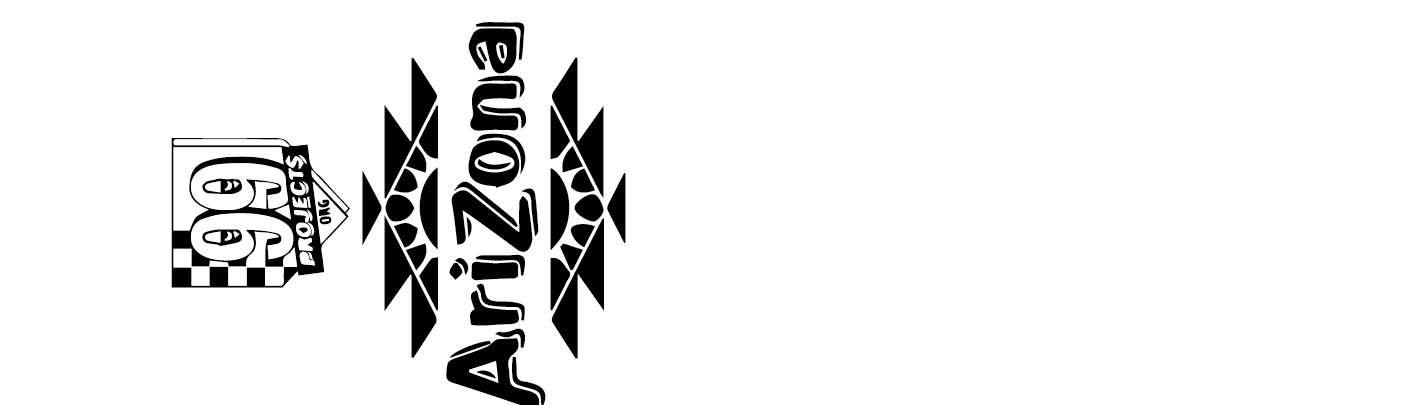
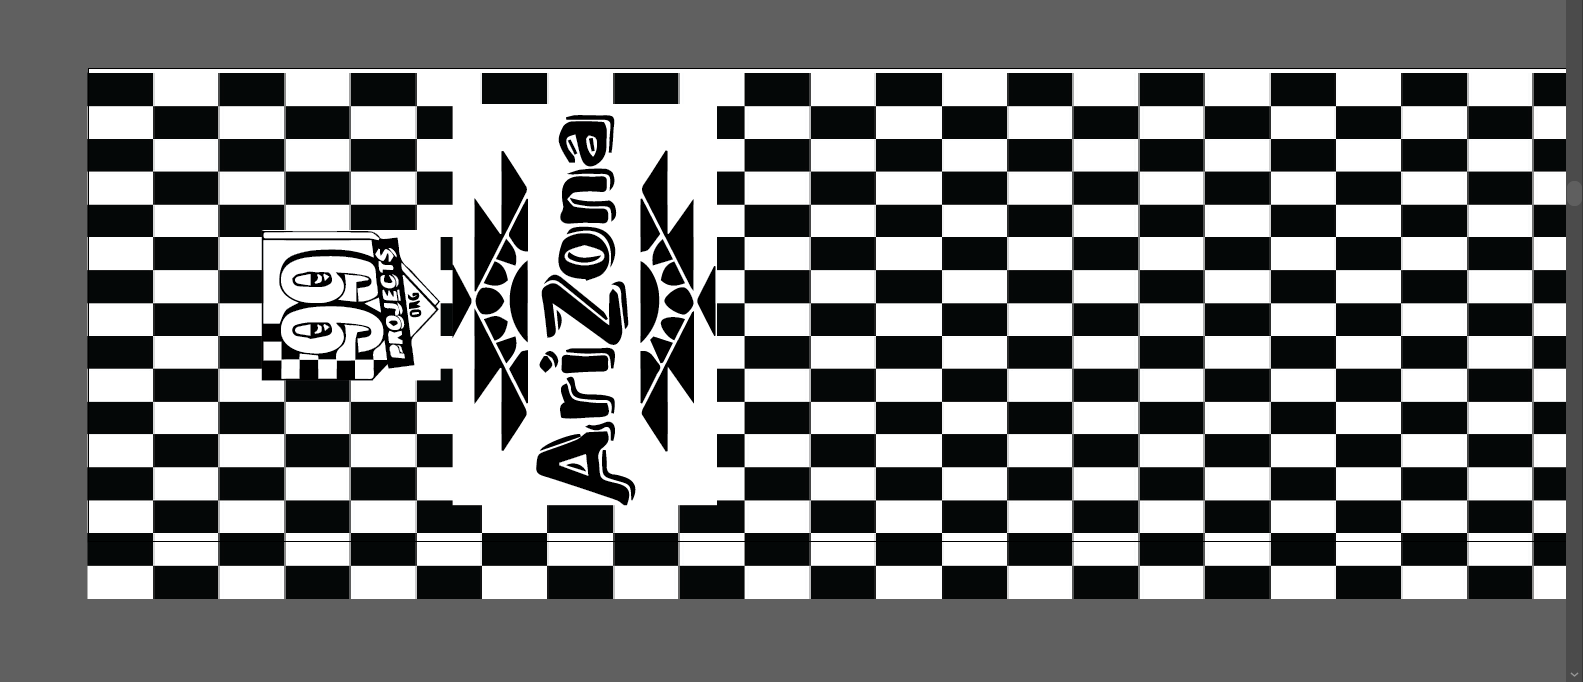
      My next step to this project was to create a design to engrave on my grip tape. I knew that I wanted a design was something that would look on a skateboard and something I like. Then I thought of it. I decided on doing a Arizona tea design. The design would have the 99 cents logo, the pop up design, and the Arizona logo. Once my design was finished I engraved it on my grip tape. Sadly the laser did not cut through all the way so I had to use a fine tool knife to finish cutting through the material. Once I finished that the grip tape looked amazing and I was very happy with how it turned out.
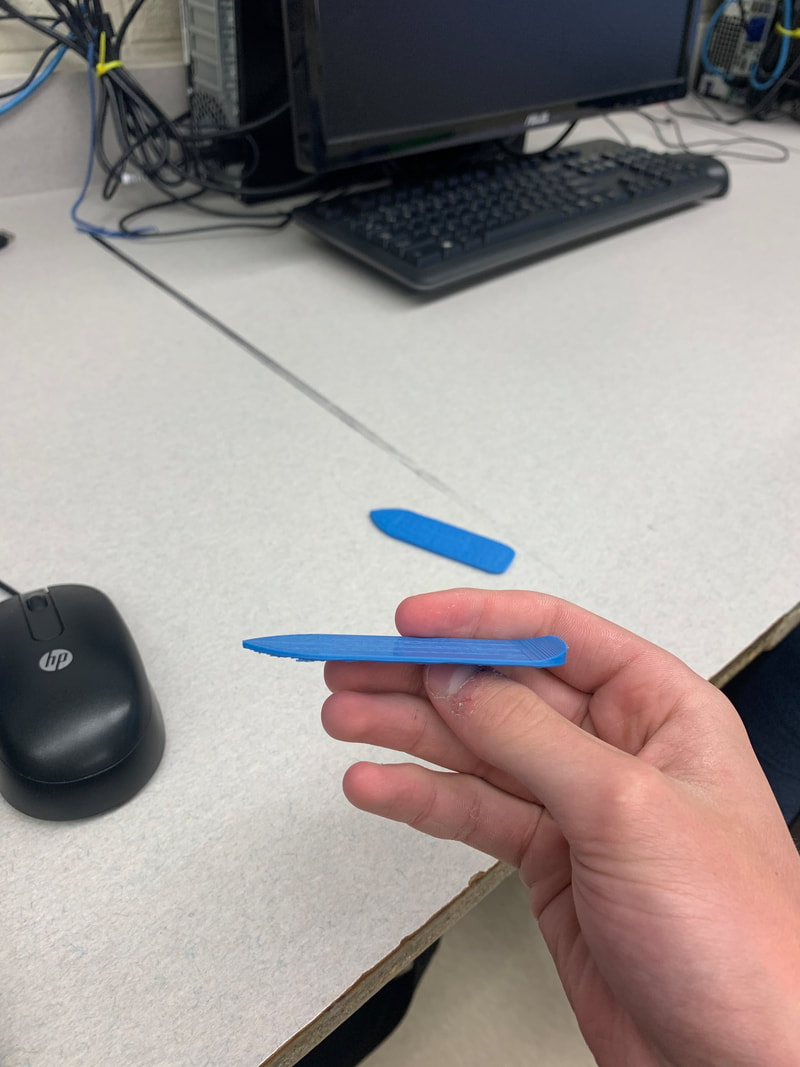
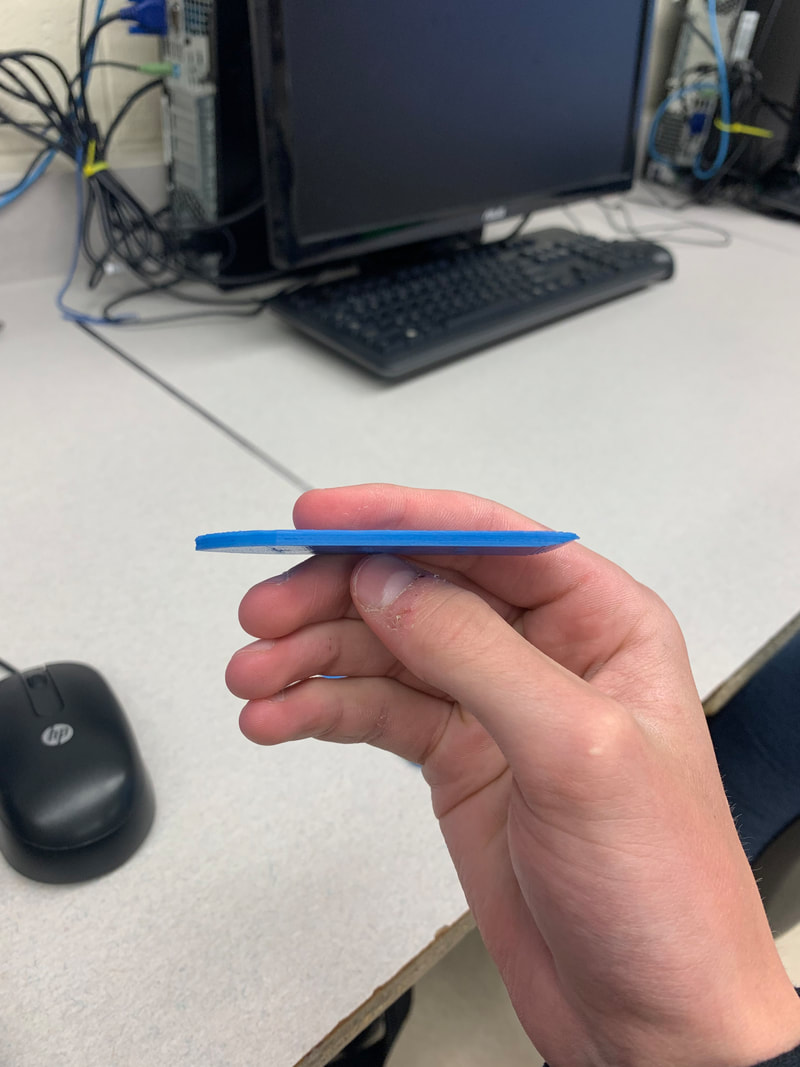
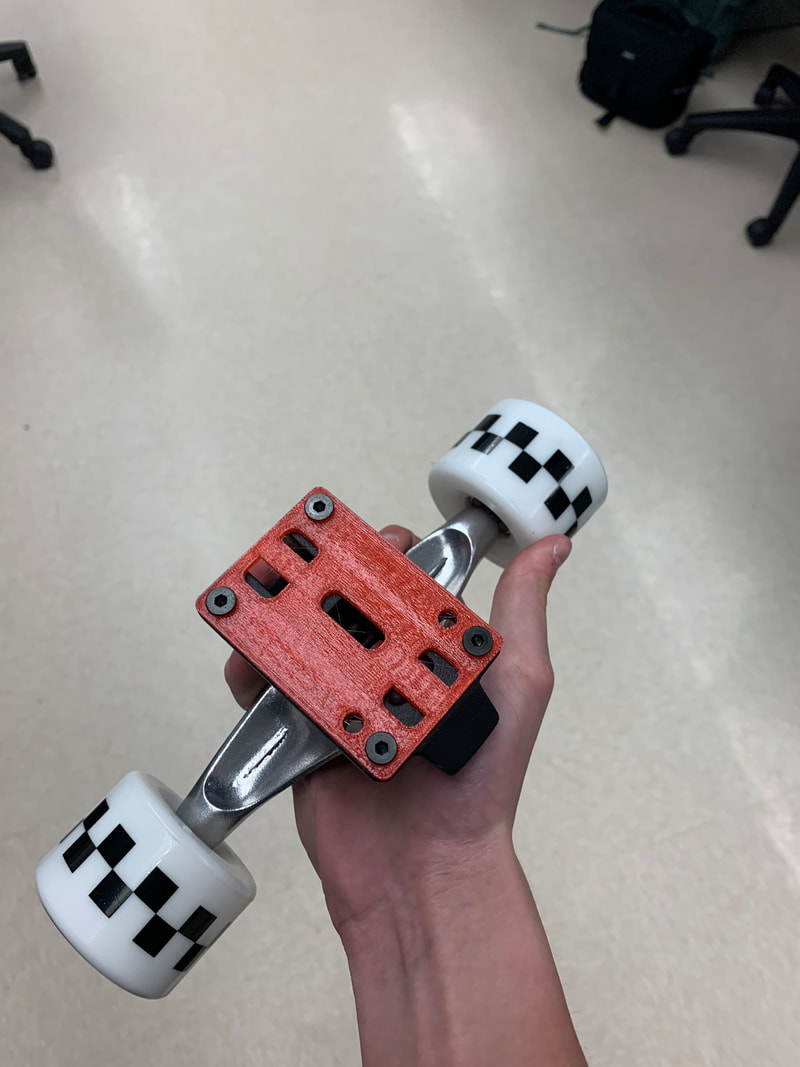
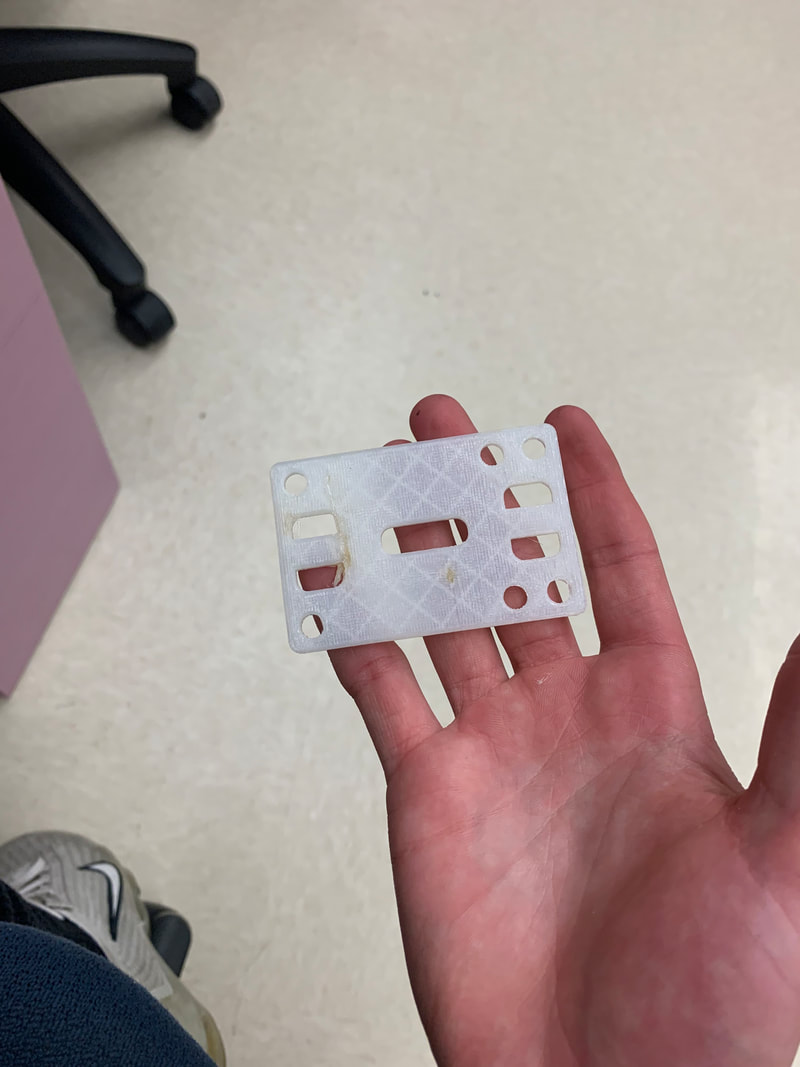
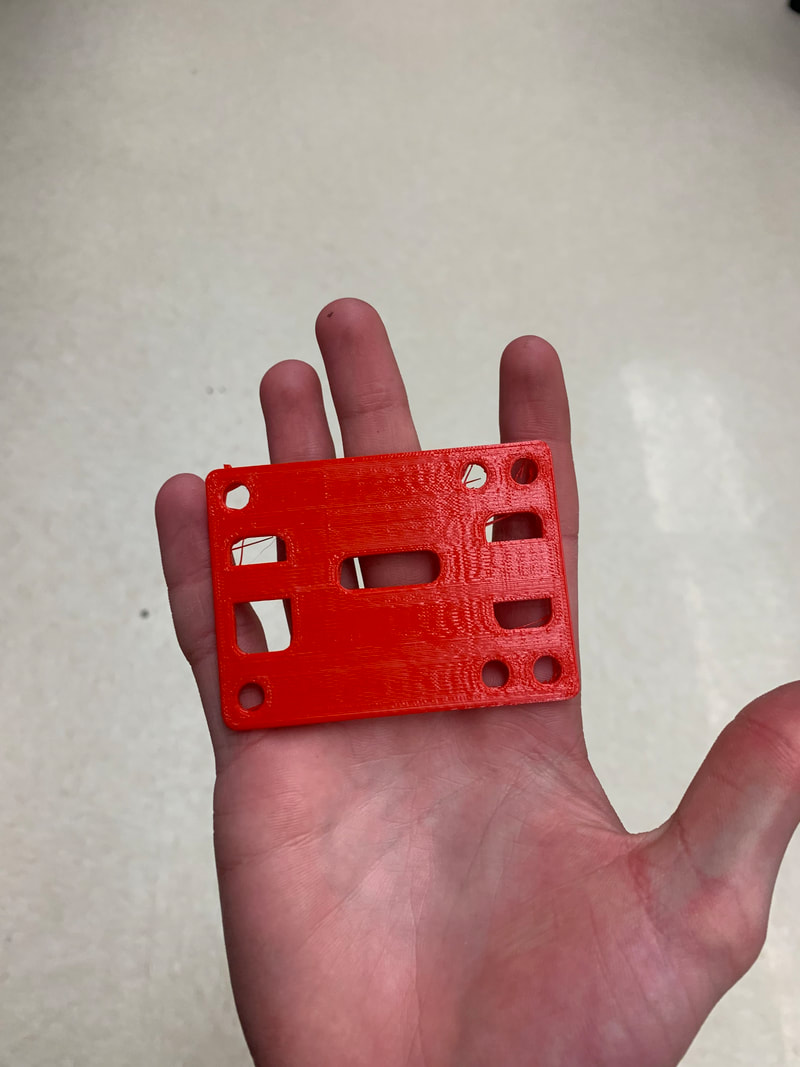
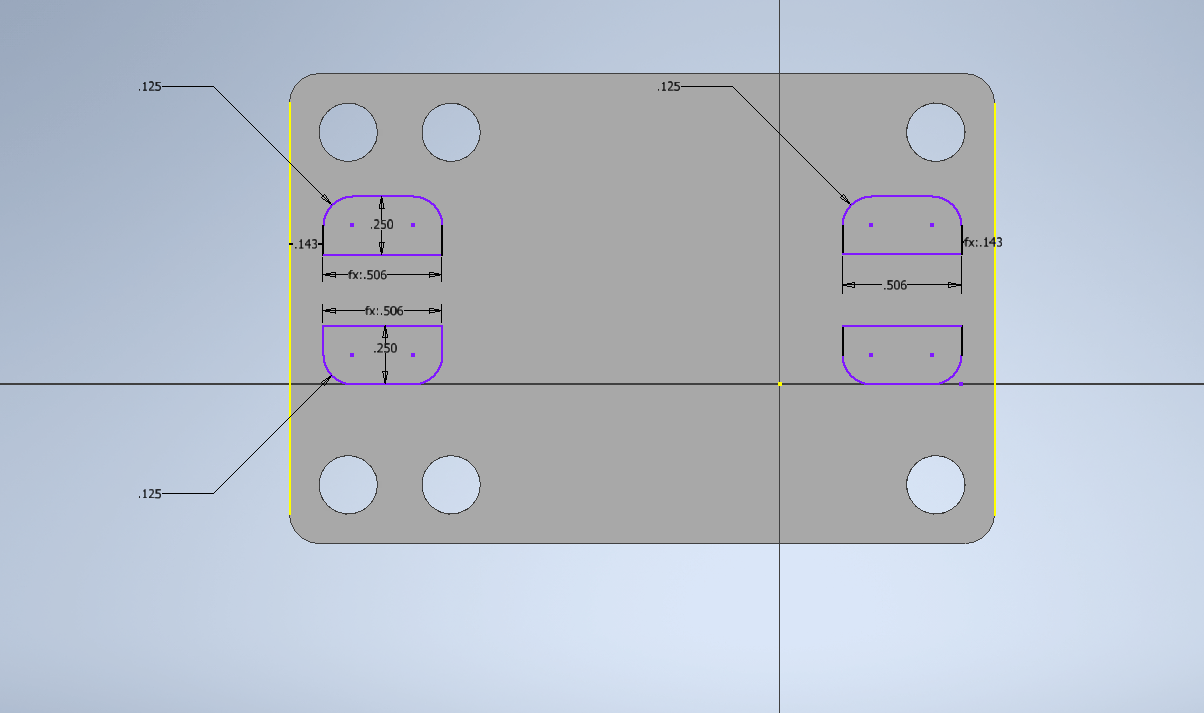
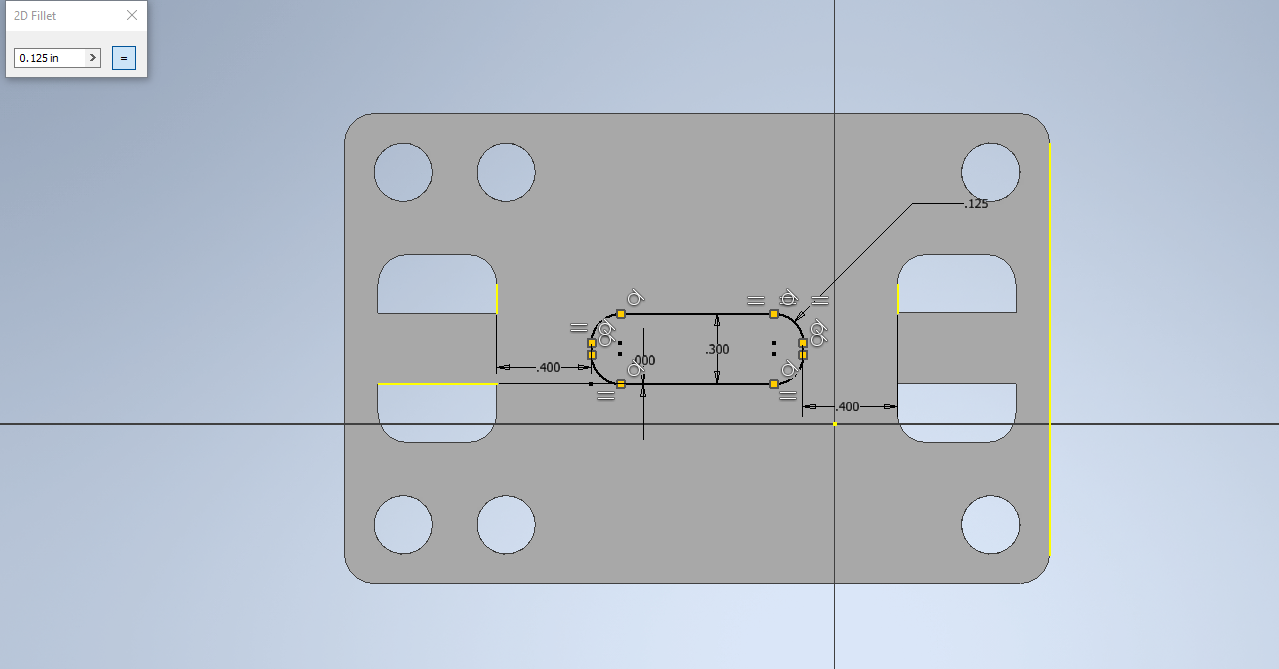
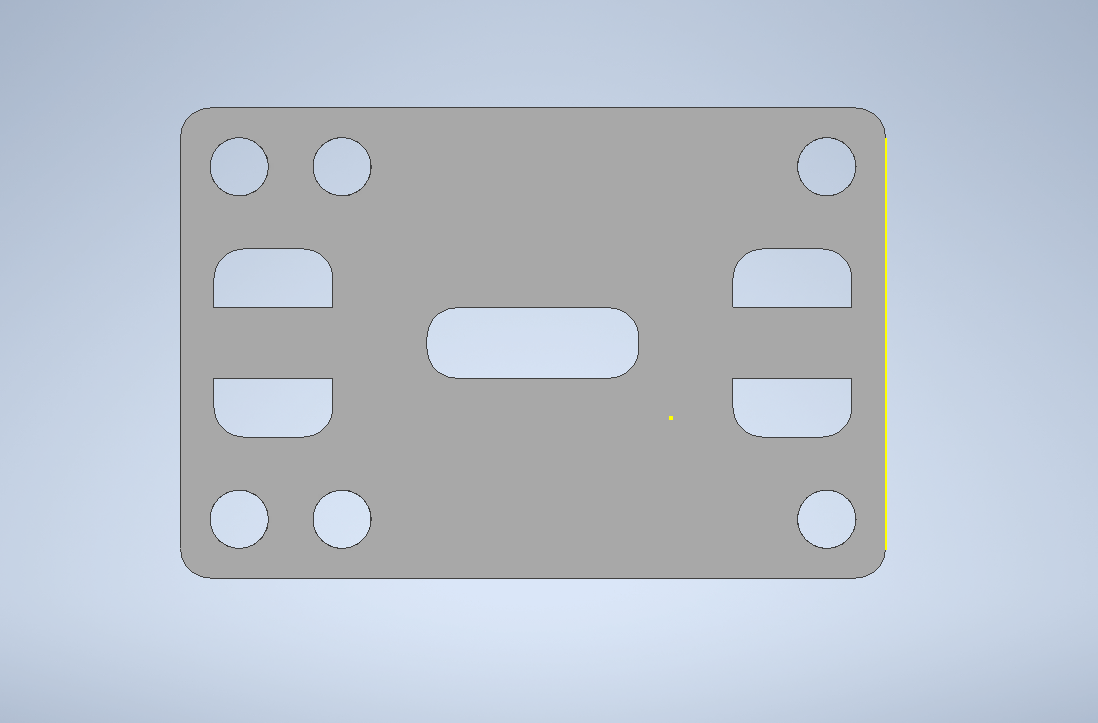
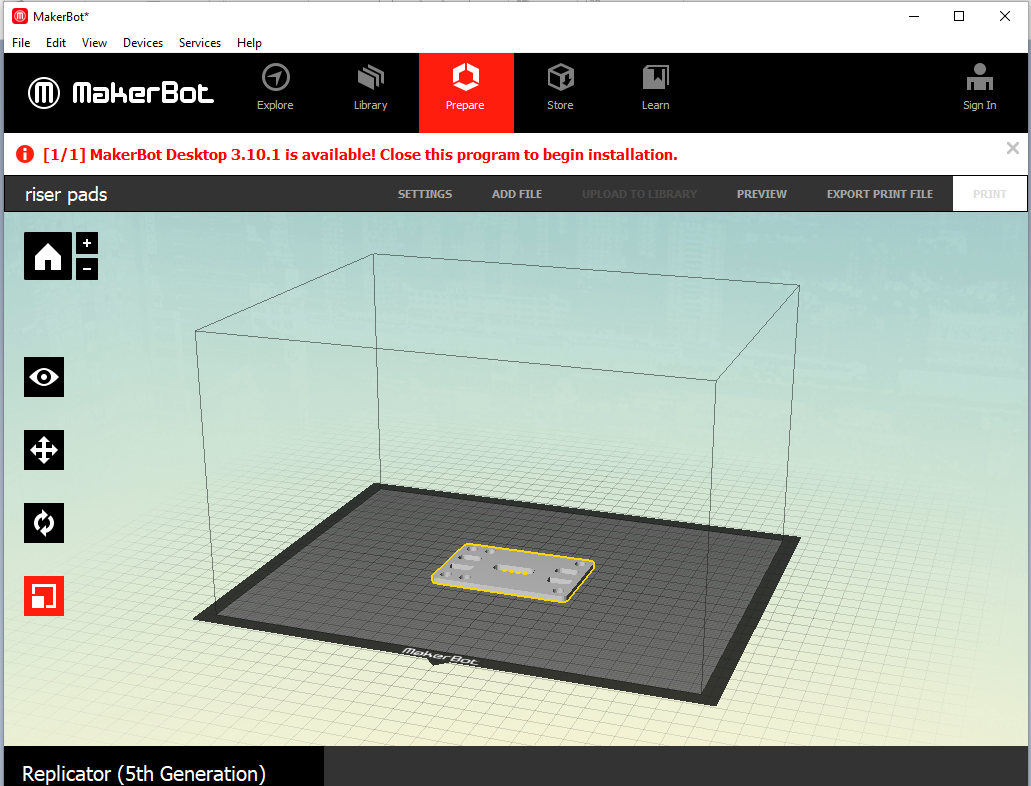
  The last step to this project was the easiest. All I had to do was create riser pads by using inventor and the 3D printer to prevent wheel bite on my skateboard. Although for some reason this ended up being the hardest. My first two attempt were either two big or two small. So to fix this problem I went in the middle and it was a success.
|
All digital documents
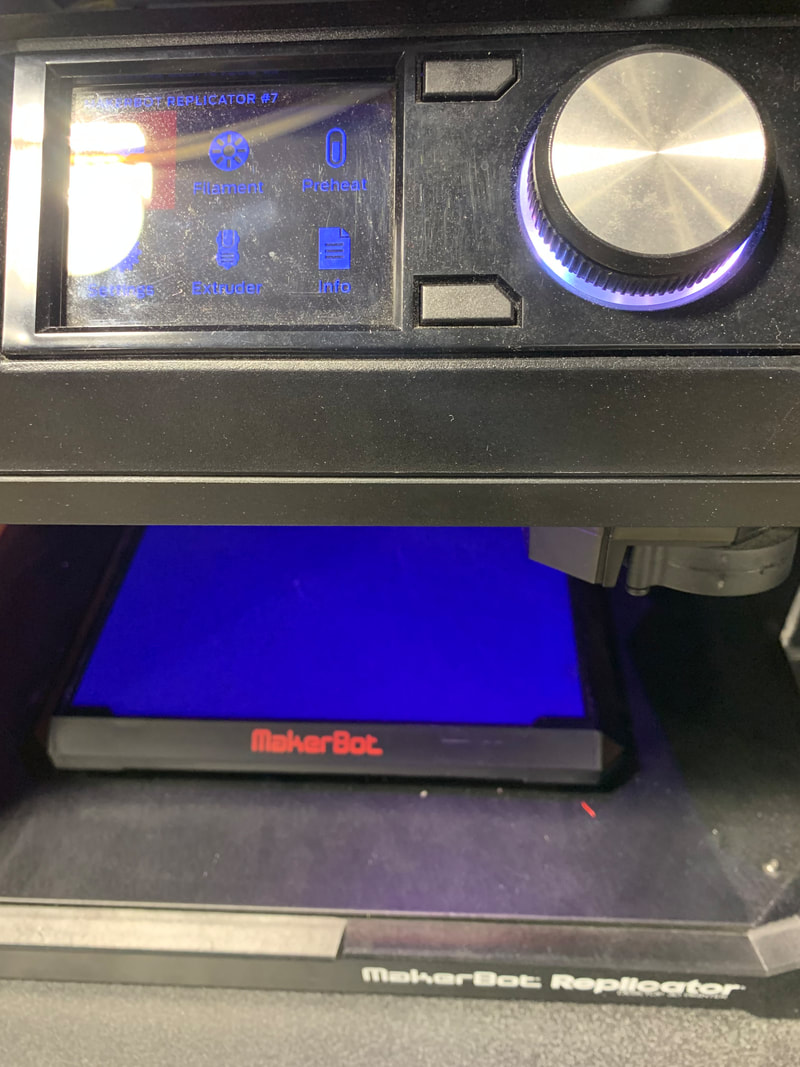
setting up project parts on equipment
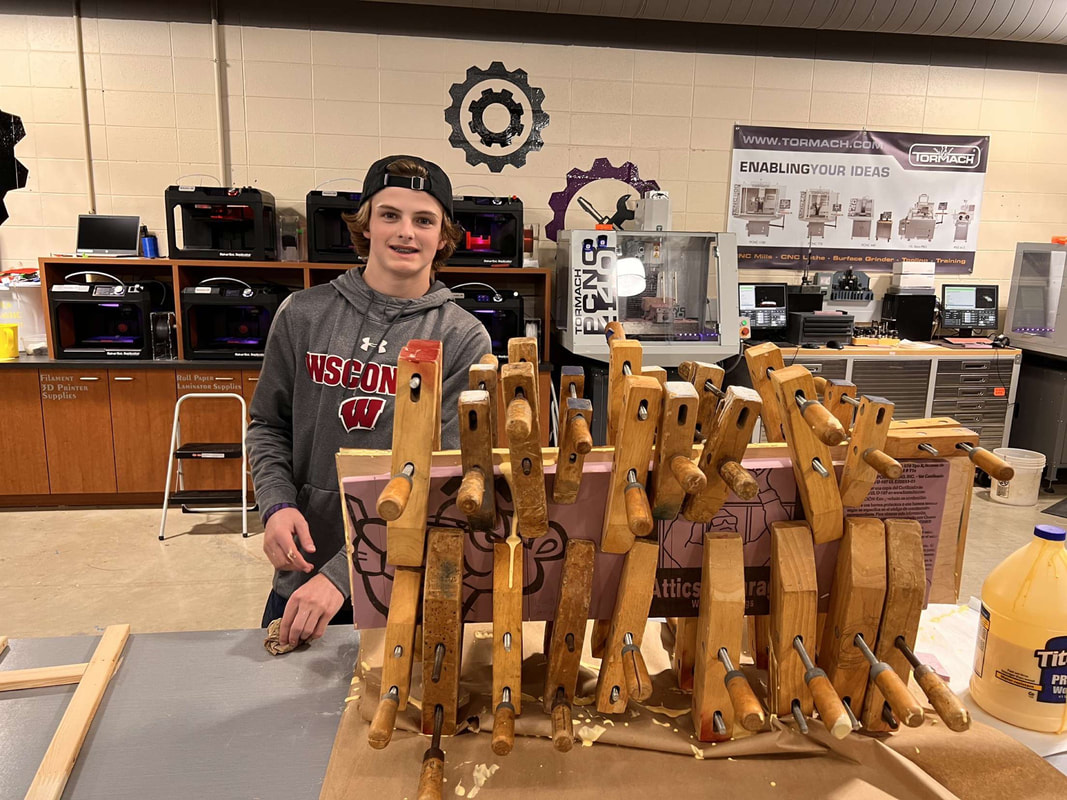
Working on project
What I learned
I learned a lot this semester. I had lots of highs and lows. The most important information I learned about wasn't using fusion, or the how do use the CNC Router. It was actually time management. In the first half of the semester I didn't really do anything at all. As you can imagine this led to a very stressful second half semester. This was all do to time management. What I should have been doing was working as much as possible during class. Then I should have spent the last 20 minutes for my notebook entry. Also, during my own time I should have been working on the websites while I was doing my project (not waiting until I finished my project).
Time management was not the only thing I learned this semester. I Also learned a greater understanding of using the machines like the vinyl cutter, 3D printer beds, and a sanding tool. Learning more about these machines is really helpful because I really enjoy creating something from scratch while at the same time making it look cool and usable. I plan on using my knowledge about these machines through the rest of my life whenever I want to make something. In all, I had a lot of fun while also learning a big lesson at the same time.
Time management was not the only thing I learned this semester. I Also learned a greater understanding of using the machines like the vinyl cutter, 3D printer beds, and a sanding tool. Learning more about these machines is really helpful because I really enjoy creating something from scratch while at the same time making it look cool and usable. I plan on using my knowledge about these machines through the rest of my life whenever I want to make something. In all, I had a lot of fun while also learning a big lesson at the same time.
